So started my first fit for the left side exhaust pipes. I ended up using the old front clamps as the new ones appear to have quite tight holes causing me difficulty on number two front pipe as the studs that were Helicoiled are at a very slighty wrong angle.
Quite happy for now to use the old clamps that I had previously cleaned & painted.
I fitted number two front pipe first as its the lower silencer unit. lt lined up quite nicely but number one upper silencer was not wanting to fit with the rear joint miles out. After several attempts and a tea break I tried a new idea.
I fitted the front pipe end first with the clamp in position but not the two collets. With the mounting bracket removed I fitted the connector pipe in place (not tighted but clamp in place) then slipped in the two collets on number one exhaust and nipped up the two retaing nuts finger tight. I then slipped the mounting bracket in place nipping up the silencer nuts and the top hole bracket just slotted in place. I used an old bungee strap on the end of the silencer to keep the connector in place rather than clamping it up.
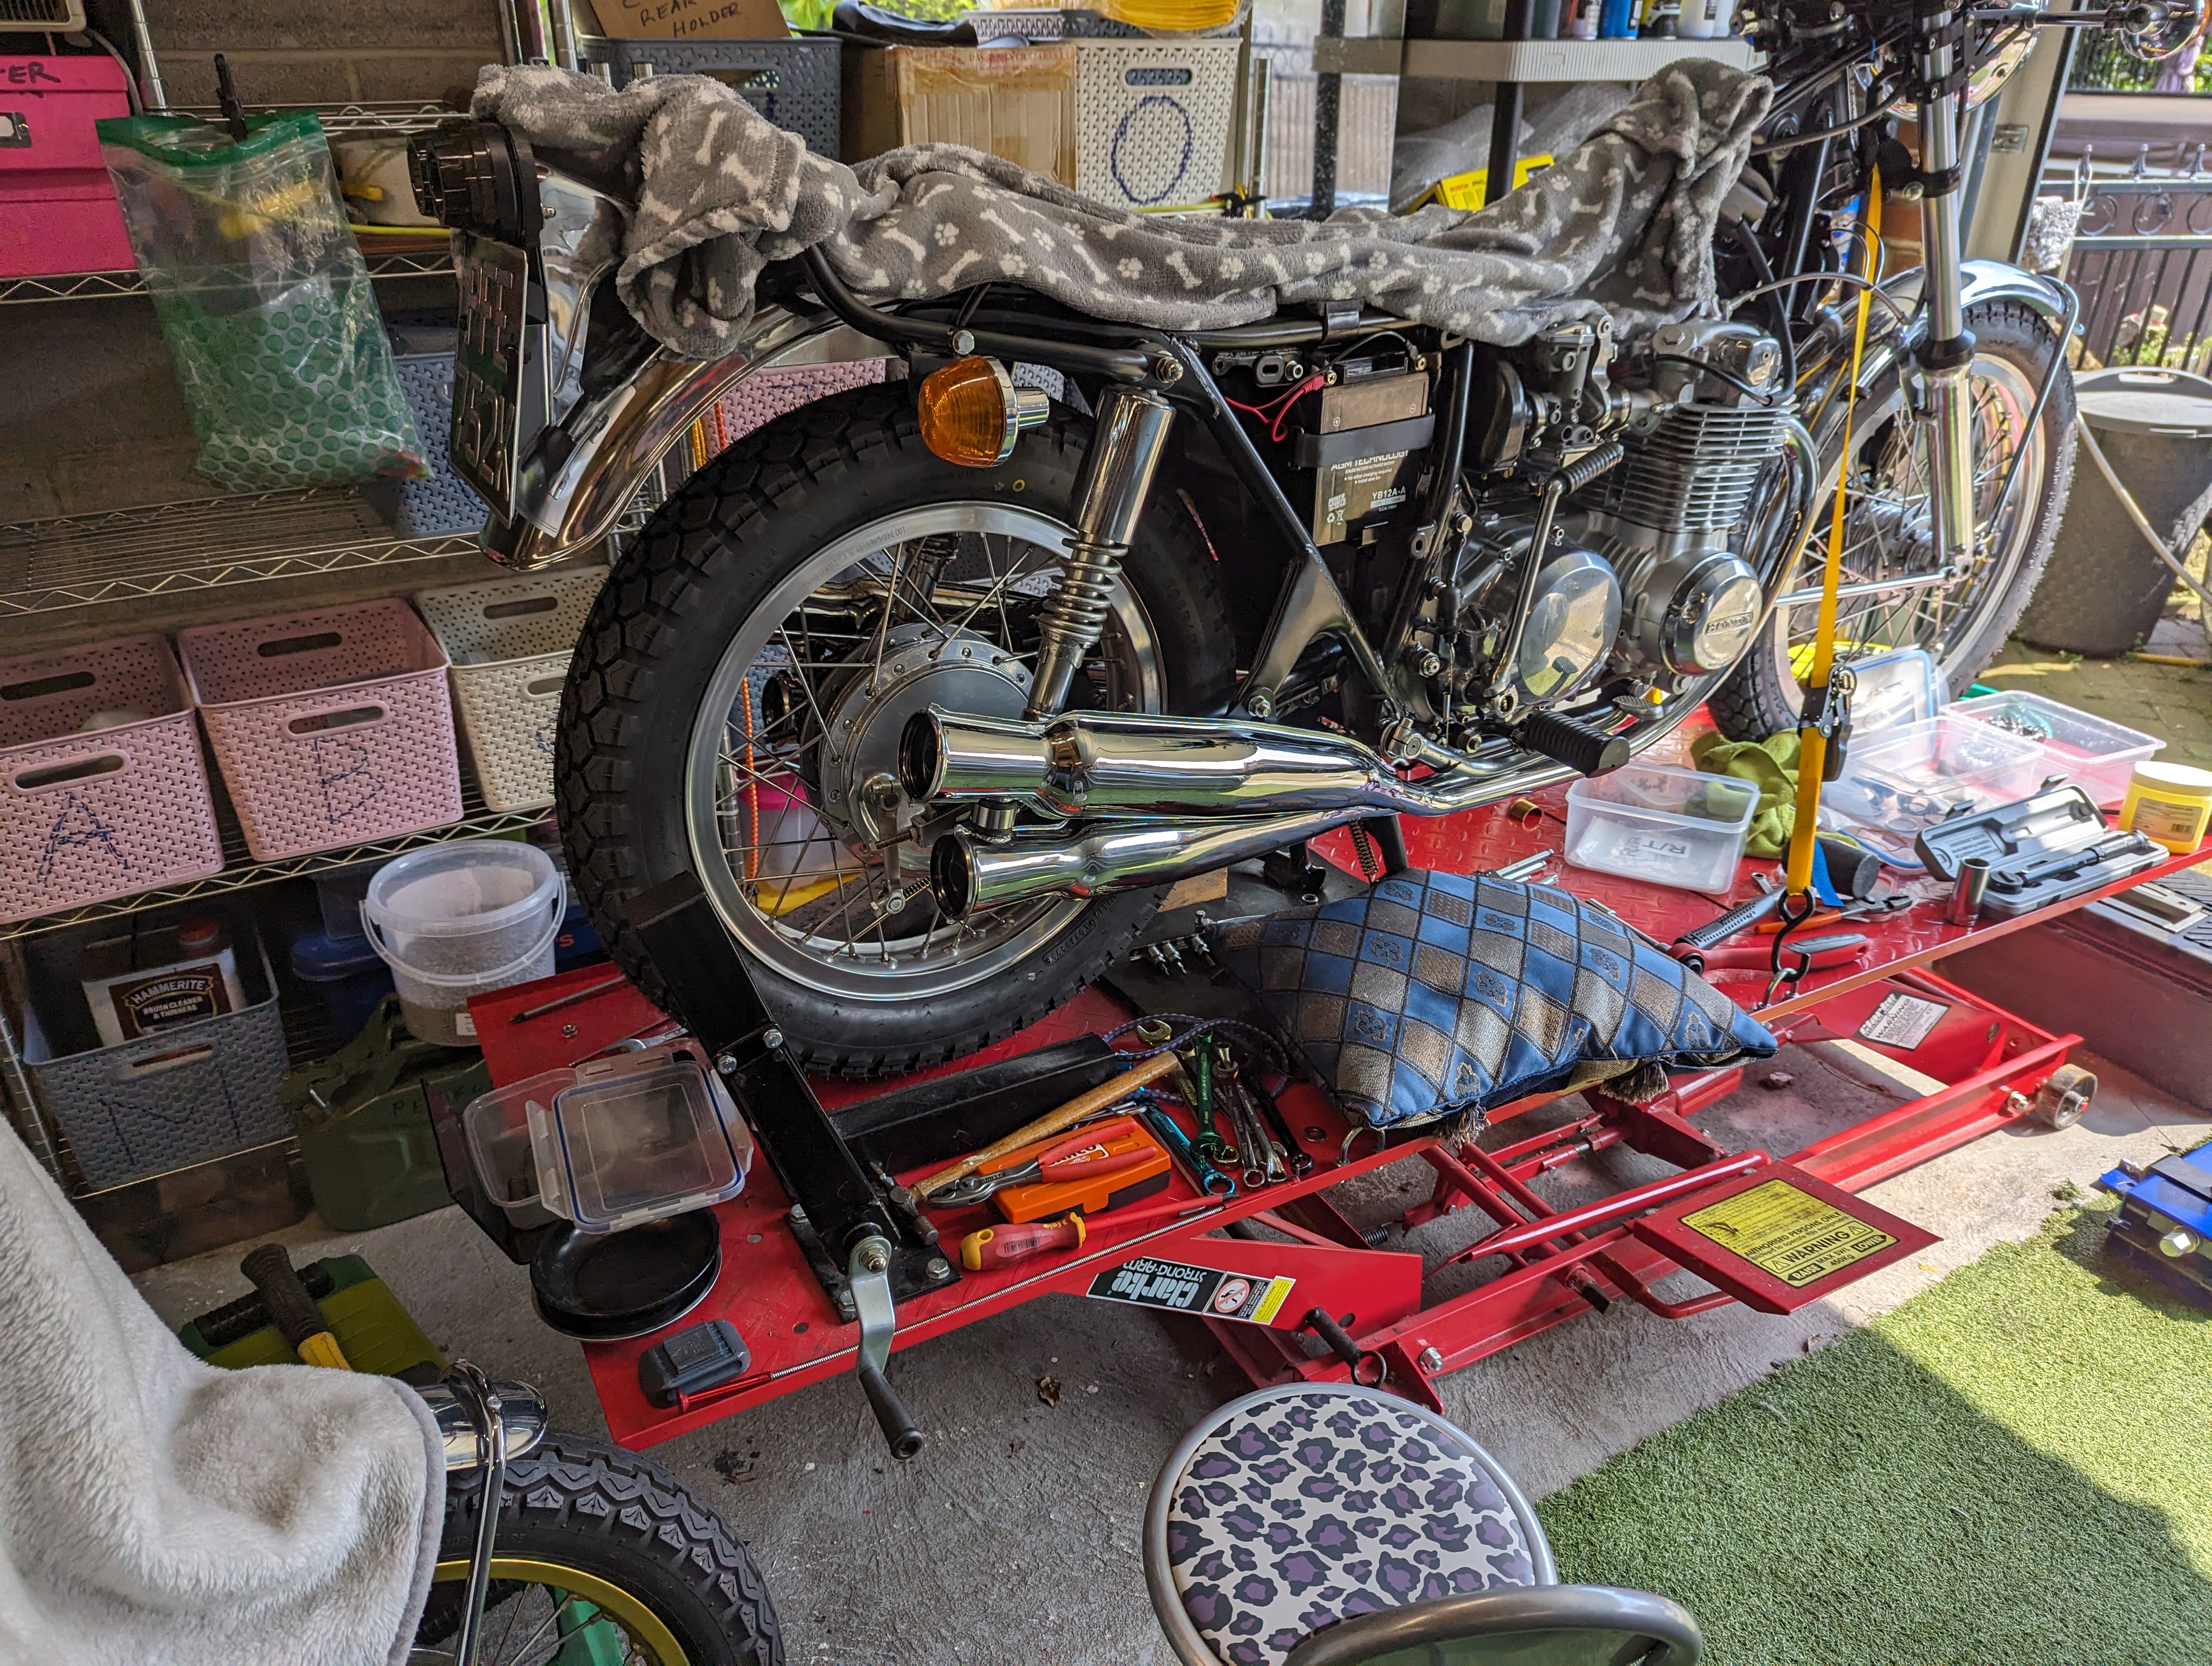
Tomorrow i am minded to make some minor adjustment to the slotted holes on both brackets so that the front pipe sits more freely into the cylinder head. With a lot of faffing about it took me almost two hours to fit one side including tea break. So far I've just fitted the left side exhausts - I still need to do a little fettling as I want to make the front pipes fit better into the cylinder head - I might need some wider slots in the top holes of the brackets to allow the silencers to move a mm back. Just to release any unnecessary tension.
 side view
 by
Macabe Thiele, on Flickr
.
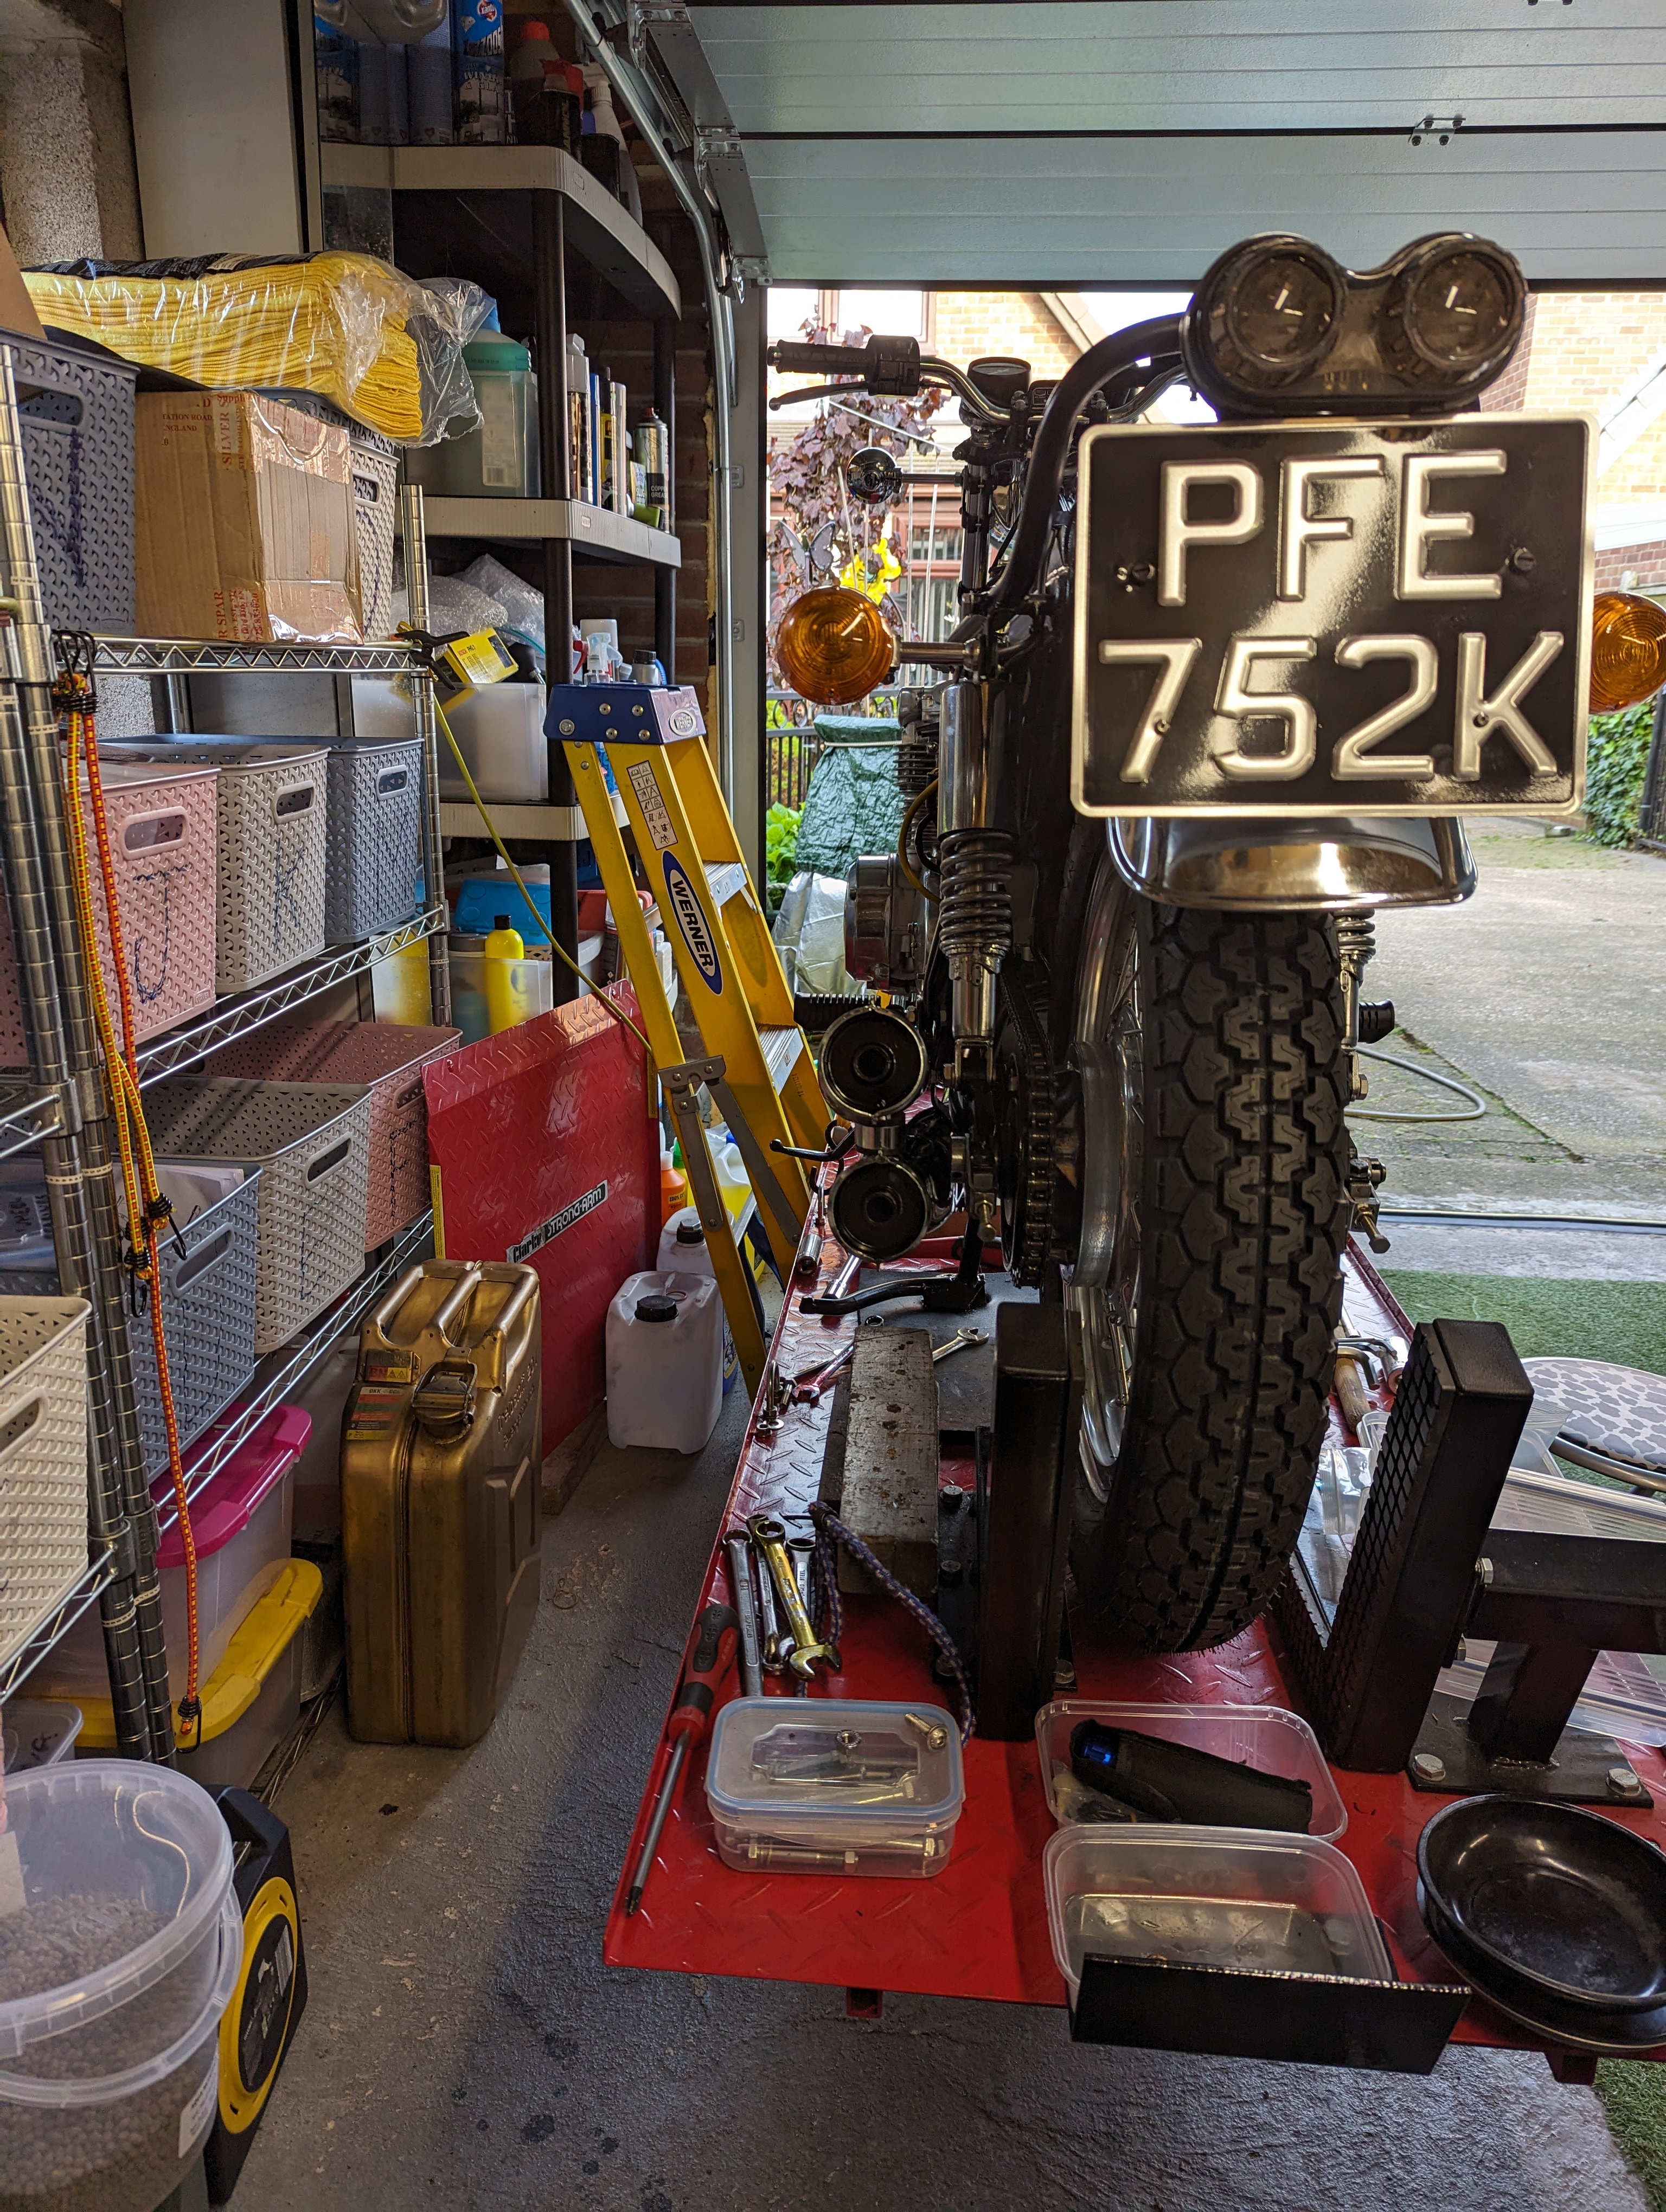 end view
 by
Macabe Thiele, on Flickr