This section allows you to view all posts made by this member. Note that you can only see posts made in areas you currently have access to.
Topics - the-chauffeur
1
« on: December 11, 2019, 05:10:01 PM »
How do Looking for a little help/advice. I'll apologise now for my ignorance of the subject matter  I've sent a set of spokes for an XL350 to a spoke manufacturer to get stainless copies made. Replicating the spokes is no problem, but I've also asked them to supply nipples, and they've come back with the question what size do you need? I have no idea 'cos I didn't realise that was a thing. I'm told they have four variations - 225/250/275/300 - which is an imperial (or American, depending) measurement . . . as a metric person I don't really understand what that means. They've also tried to tell me how to measure them, and it's something to do with the sloping section under the head, but again, I'm struggling to understand exactly where/how. The only way I can visualise what they were describing was the distance from the seam of the head to the point where it turns into square section . . . I've had a look I can't find any good guides online or numbers that I can give the manufacturer and sound like I know what I'm talking about. I could send them samples, but before I do that, has anyone got any suggestions as to what I should be asking for or any hints on how to measure the ones I took off the bike? If you've made it this far, well done . . . and thanks
2
« on: November 28, 2019, 07:09:03 PM »
How do all.
I have a somewhat peculiar question - were there any 750 models with lower yokes that came with steering locks that differ from the standard Honda removable lock barrel set-ups? I have a feeling I already know the answer, but . . .
. . . here's why. My bike was a mongrel before I got it. Whilst it hadn't been cut up, it had been <ahem> transformed into a very scruffy cafe racer. Fortunately, nothing that was done to it couldn't be undone and over time I've returned it to pretty much what it should look like. The forks and yokes are the ones that came with the bike and as far as I know, the top yoke is from a K2.
The bike came with an ignition key and a seat key, but something I never really paid a lot of attention to was the steering lock, principally because it looks like it takes a much smaller key than the others, and that key was/is missing. But now I think about it, nothing about the lock is the same as the Honda style; the keyhole is very much smaller than standard, the barrel is (so far as I can tell) fixed into the mount, the mount itself is oval when viewed from head on (as opposed to round) and the lock cover/flap is directly attached to the lock mount
And that has led me to the conclusion that the lower yoke probably isn't from a K2, or maybe even from a Honda at all. Annoyingly it's too dark and miserable - not to mention too strange an angle - to photograph right now, so rather than ask anyone to speculate on whether it's from another make altogether, I'll just repeat the question were there any 750 models with lower yokes that came with steering locks that differ from the standard Honda removable lock barrel set-ups?
It's all a bit strange. I'll try to get pictures up as soon as I can.
3
« on: July 01, 2019, 01:29:22 PM »
I'm not sure whether this is the right place to ask, but I'll have a go anyway . . .
. . . has anyone got any links to documents explaining new regulations on the import/supply of items (primarily gaskets) containing asbestos?
For context: I rang Silver's this morning to order some bits and pieces, one of which was an original gasket for an early CB450. It seems there's been a change in the (EU?) law recently that means they're no longer able to/willing to supply gaskets that may contain asbestos, and they can't ship any in from their US warehouse either. They said that as a consequence, they've had to take a load of stock off their shelves, but I'm not entirely sure whether that's because either they can't continue to stock it, can't sell it on, or it can't be posted.
I've done some Googling but keep coming up with rules on the transport and disposal of waste materials containing asbestos - not what I need. I'm trying to understand what the rules say 'cos this could have something of an impact on some of the restoration stuff I'm doing and if it's as draconian as the rules they had in Australia up until recently, I'd've though it would impact the import of older machines that could have asbestos in brake materials.
Does this ring any bells with anyone?
Cheers
4
« on: August 24, 2012, 10:57:14 PM »
Not the first time this topic has come up, I'm sure, but I'm getting a little fed up with the lack of charging power on the K2. To be fair, I've always known the charging circuit wasn't up to much, but I'd not realised just how bad it was until I rode home from work tonight. It's a 17 mile journey and for most of it, I had barely a candle glow from the headlight - and for a large part of the journey the battery didn't have enough power to run the headlight and run at anything over 50mph. Not a pleasant trip.
Some background - my K2 has a modern reg/rect in place of the original parts, which would now be 40 years old. I've also swapped the tail-light/brake light bulb for a LED replacement. The trouble is the draw from the headlight - I switched the ludicrously low powered sealed beam unit for a halogen replacement, but it seems that unless I keep the bike at high revs the whole time the light is on, it drains the battery in minutes. Everything's grounded properly and I've installed relays to take the switching load off the handlebar switches.
So other than change back to a sealed beam unit, what - if anything - are my options? And should I really be suffering this badly with the draw from the headlight? I had no idea the halogen bulbs were quite so power hungry . . .
Thanks all.
5
« on: March 30, 2012, 11:10:50 PM »
I'm mid way through my third top end teardown because I've found another leak up there. Turns out that it's partly due to one of the front studs that holds the cam towers in place not having a sealed end. Threadlock will cure that, but while I was there, I had a look at the head gasket because I thought it had been seeping - not a huge amount, but enough to put a few unwanted stains on the fins around the head gasket. I wasn't wrong . . . . . . until recently, I'd never really thought much about the differences between Honda's own head gaskets, head gaskets that come in kits and/or the changes between K0-K3 models and the K4's onwards. I rather niaively assumed all head gaskets were created equal and that when kits proclaimed their gaskets were oil resistant, that meant they wouldn't leak. Well, that's something I was wrong about - the same misplaced belief that what are advertised as complete gasket kits come with all the gaskets and o-rings needed for engine rebuilds (yup, wrong again). Here's where the gaskets differ. This is a gasket for the earlier year bikes - and this is one for 1975-ish bikes onwards. Ignoring the centre channel section shape, check out the stud hole sizes. On the earlier one, the holes around most of the studs are pretty small, and the gasket is made from a metallic coated material. The later/aftermarket gaskets have stud holes that are wide enough to accommodate rubber joints; the material (certainly in aftermarkets) is largely fibre. The inner stud holes are important because they act as oil returns (front and back), so it's important they seal properly to stop leaks. The gasket I've just removed has the bigger holes, and because mine's a K2, there's no room for the rubber seals that fit later bikes. Consequently, mine was covered in oil that's leaked out and around the mating faces. So this time, I've managed to get hold of a Honda gasket that sits somewhere between the two above - it's the same material as the earlier one, the stud holes are wider but the kit also contains very thin square section rubber o-rings for 8 of those holes. It was made for the US market in the '70's in an attempt to cure the head gasket seep problems. Whether it'll work or not, only time will tell, but it's a hell of a lot more substantial than all of the aftermarket kit versions. If you have an older K series, I'd strongly recommend you try to get hold of one Honda's earlier gaskets with the smaller diameter stud holes (the image above lists the part number, so you should be able to order it from Silvers, CMSNL or Honda direct). Although they're more expensive, they're significantly better quality than any others I've seen. And don't do what I did and use one of the later aftermarket gaskets with the bigger holes on its own because they simply don't seal the oil return ways properly. Once they start to seep, no amount of torquing down will cure the problem. Having said that, the thin o-rings may be available from Western Hills Honda in the 'states, but they seem to be about the only place that have any stock left (part no 12115-300-305).
6
« on: March 25, 2012, 01:20:11 PM »
Folks After reading Hondaman's thoughts on the effects of using a halogen headlight with 40-year old switchgear, I've decided to looking at making up a sub-loom to allow the light switches/power to be run via relays. In his book, Hondaman reckons the relays can be fitted into the headlight bowl, but I've got a relatively close fitting chrome dish on the back of mine and I have grave reservations about the amount of spare room in there. So what I intend to do is make up a sub-loom that runs from the headlight back to the space by the battery and fit the relays in there, together with a relay to take the weight off the keyswitch. With the back story out the way, what I need is some guidance as to what wire to order to make the loom up with. Can I ask whether someone can take a look at the vehicle wiring products cable page for me and let me know whether I need to order Ref 16 or go for the heavier duty Ref 25. Yup - it's as easy as that. Thanks in advance.
7
« on: March 12, 2012, 06:29:49 PM »
Strange one, this. I seem to have some sort of power leakage from the lighting circuit on my K2.
With the lights off, everything's pretty much normal. Turn on the low beam (mine's a European spec bike which has a pilot bulb as well as the main bulb) and everything's on as it should be - but there's a very dull glow in the high beam idiot light. Fortunately, it's so dim that you only know it's there if you're looking for it - so MOT's and so on are no trouble. There don't seem to be any signs of power drain/loss, but I can't seem to get the lighting circuit to close so that the low beam is on without there being a tiny current to the high beam idiot light.
I've tried pulling the loom about a bit and from what I can gather, it's not the high beam circuit that's the problem (or at least, not directly). It seems that the idiot light glows when the low beam feed is connected to the headlight bulb. Remove the low beam power feed from the headlight, and the idiot light goes dark - switch onto high beam, and both the beam and the idiot lights come on as they should.
This kinda suggests to me there's something hokey going on with the way the circuits are grounding (or not), but I can't work out where to start with fault finding because, like I say, there's nothing else wrong with it.
Any thoughts/suggestions?
8
« on: March 09, 2012, 05:41:04 PM »
In mitigation of some of the negative press these folks get . . . . . . I took in a bunch of documents to register my SL350 K2 into the Sidcup offices of the DVLA on Wednesday - which included a page with 4 images of the bike showing the frame and engine numbers. In the post this morning (Friday), I got an envelope of papers containing various documents including a new MOT, numberplate authorisation certificate (old J reg) and historic vehicle tax disc. V5 will follow. I reckon that's pretty good service for £55 
9
« on: October 24, 2011, 09:45:58 PM »
Folks
I've finally gotten the K2 engine to the point where the cases, barrels and top end are oil tight. It'd be fair to say it's fought me every step of the way, and even though it now runs really nicely, it isn't prepared not to let some oil go from out of somewhere on the lower left hand side.
I know the gaskets in that area can be a pig, and I've already had to replace the generator gasket for one made from thicker material; before I put the side covers back on, I made sure the mating faces were completely uniform by wet 'n' drying them on a very flat surface. Turns out I might have removed fractionally too much from the generator cover (or the gasket I used was crap) 'cos one of the generator assembly faces met with one of the coil faces. Thicker gasket cured that, and I'm going to replace the shifter assembly cover gasket to match.
Anyways, I think the oil is probably coming from around the neutral switch. When I originally relocated the switch, I found that a brand new 3mm Honda o-ring (specific part) didn't compress and/or allow the switch assembly to sit deep enough in the recess for the switch itself to work - in other words, the bike could be in gear, but the neutral light would still be on. I swapped the o-ring for one out of a generic metric kit which is 2.5mm thick, and that cured the light operation problem, but it looks like it's the cause of my leak.
So what are my options? I guess I need an o-ring with a 3mm thickness left to right, but with a smaller thickness top to bottom. My instinctive response is that there must be a way of shaving down a standard o-ring, but that's a pretty imprecise science. I've also had a look to see if I can find something else that would replace the original, but so far I haven't turned up anything suitable.
Ideas/suggestions/pointers gratefully received - and help me put this issue to bed once and for all . . .
Thanks
10
« on: August 11, 2011, 10:54:05 PM »
I'm really sorry it's come to this, but I'm posting a warning to anyone considering using Engineering Solutions in Bexley.
If you're a reader of classic bike magazines, you may have seen their ads - they say they take on all sorts of engineering work. It's fair to say Brian (the proprietor) will be happy to take it on, and talk about it at great length . . . it's the doing it and returning it that's a problem. Particularly welding.
Those who've seen my other posts will know that I've spent more time waiting for bits to be worked on than I've spent working on my bikes. Out of the last six months or so, Brian has kept me waiting for nearly five for what are really very simple jobs - welding on exhausts, thread repairs, minor headwork and so on. But the most recent job has just about driven me up the wall.
Three months ago, I took a frame in to him with some ancillaries for some straightforward alterations - the lock stop had been pushed sideways and needed straightening, the shock absorber bushes needed pressing out of the swingarm, a couple of threads needed repairing, a couple of seat pans needed tack welding in a spots and the underside of a silencer needed some weld repairs. Since that time, I've gone back in every couple of weeks or so and been told that it's happening - but each time, my pile of bits hasn't moved from where it was on the last visit.
Four weeks ago I told him I had a deadline of two weeks and explained why. Somewhat unsurprisingly, that deadline came and went, but only the frame went to his welder. I was fuming this week when I went into the shop to see the pile had remained unmoved, only to be told Brian had gone on holiday for two weeks, and once again, nothing was going to happen until he'd returned. I collected what I could and took it away and have since had all of the bits done overnight by more professional people. I'm also pleased to say one of his helpers got the frame back for me, too.
This isn't the first time he's royally pissed me about - he had a set of silencers off me for at least 8 weeks and basically did nothing with them in that time. But again, he kept telling me they were being worked on . . . and on . . . and on. Eventually I had to take them off him and get someone else to do them.
Don't get me wrong - the engineering work he's done for me in the past has been good, although it has taken forever to get it done. I've tried really hard to be patient - and some would say I've been too patient - but I'd prefer to give someone a fair go before getting bent out of shape. At the same time, I don't want to come across as a ranting lunatic, but this last experience has just been a hop, skip and a jump too far for me.
If you've got all the time in the world, Engineering Solutions in Bexley may just be the place for you. But if you want stuff done and returned to you while you're still young, save yourself a load of grief and aggravation and go somewhere else.
11
« on: July 21, 2011, 07:05:42 PM »
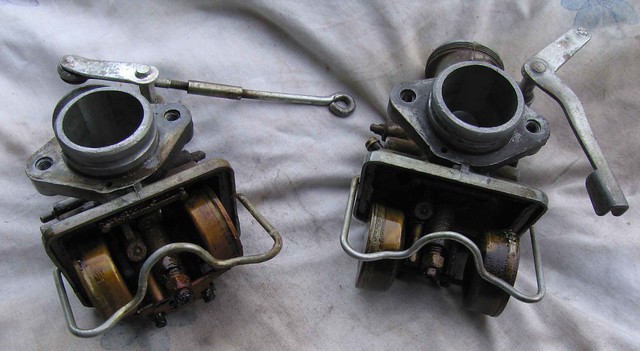
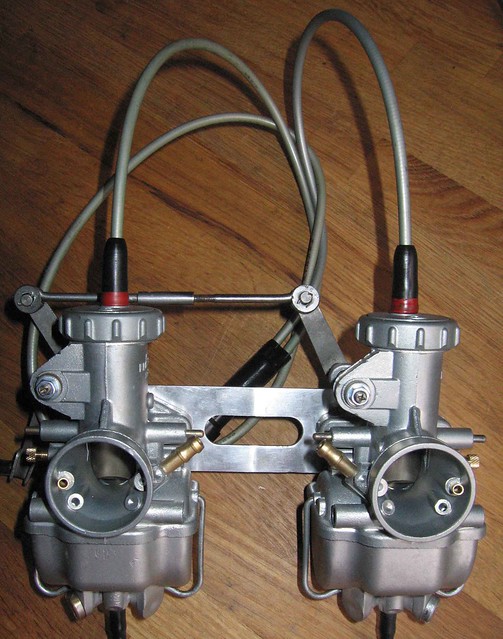
Hey gang After w-a-y too much work, rework and re-re-work, I think it's safe to say the 750 K2 is nearly finished. Hooray. I've just swapped the head for that of a K3/4 which is much smarter than the one that was on there, and it fires up and runs very well. With a list as long as your arm of new parts, vapour blasting and rebuild work, it's now lookin' pretty good. It's even quite quiet, which I'm sure has something to do with new chains and bearings throughout. Anyways, one remaining thing I've never been able to sort out is the carbs. What I mean by that is that when it's running at idle, either the engine is struggling to stay ticking over or it's racing - there's no middle ground. It's almost as though the thread on the idle screw is too coarse, because no matter where it's adjusted to, the idle's either way too low, or far too high. Off idle (i.e. under power) it's fine - and very responsive - but calm idle is proving elusive. The carbs have been entirely stripped out, vapour blasted, ultrasonically cleaned and all of the jets and other internals have been replaced with new bits. I've also synched them and made sure the all the linkages/gates (inc. choke) are matched to eachother. And yes, the cables are free and have slack in them. So they now look lovely (almost as good as a set of SL350 carbs I've just redone); shame they don't seem to be controllable. Just in case you were wondering, this is pretty much what I start with: . . . and once I've soldered up the holes in the floats (!) and overhauled them, the carbs end up looking like this: But back to the 750 carbs, I'm trying to work out whether the idle I'm stuck with is how the 750's are generally, or whether this is something particular to mine - and if it is mine, why? What do we think?
12
« on: June 26, 2011, 05:14:35 PM »
I'm still in the first 1,000 miles after rebuilding the 350 K0 twin, and I can't seem to clear up what appears to be an oil seep from the RHS of the head gasket. The top end is pretty much tight, and it certainly isn't blowing, but every time I give the bike a good run out, I return to find traces of oil on the top fin or two of the cylinder block right hand side. I should add that for a short while, I had a leak from the tacho seal and earlier it suffered from sealing washers that weren't on the top of the engine. Must've been like it for a month or so (which I originally thought was caused by the head gasket) but stopped immediately when I replaced the seal/replaced the sealing washers.
My question is, are the 350's known for leaking from the head gasket, or have I just saturated it with oil from the tacho joint? I know the oil feed to the head is on the right, and I'm wondering whether that's a known weak spot. I'm guessing it could be old oil drying out from the gasket, but I'd've thought that would've dried out within twenty miles or so with a hot engine.
Or should I just wait another few hundred miles before I start worrying about the oil traces . . . ? Meanime, I'm considering trying to find a set of heavy duty engine studs - any good sources out there?
13
« on: June 09, 2011, 11:30:54 PM »
Guys
I'm putting the finishing touches to my K2 rebuild and I'm at the point of fitting the headlight, but I've run into a few snags with the wiring - mainly that I've got more spare unconnected wires than there seems to be space/need for. I'm getting my head round it slowly, but was wondering if anyone else has added one of the left hand mount plastic high beam switches to a K2, and if so, what changes needed to be made to the connections?
Coming out of the RHS switchgear, I've now got the following connectors:
Red/yellow - connect to starter circuit
Black - connect to cut out circuit
Black/white - connects to cut out circuit
Black - connects to lighting circuit
Brown/white - connects to instrument light circuit
Blue - high beam circuit
White - main beam circuit
Yellow?
White/Yellow?
All the diagrams I've seen say there should be 7/8 wires out of the RHS - can't quite understand why I've got 9.
From the high beam switch:
Brown with blue stripe
Black
I have a feeling I may need to undo a few of the existing connections and reroute them, but like I say, I'm struggling a bit. Any advice as to what needs to go where would be great. Oh BTW - I've tested all the other circuits and they work fine (brake lights, tail light, indicators, horn, neutral switch, oil pressure switch). I 'spose that's what's referred to as a good start . . .
And something else that has just occurred to me - the bike is a European spec K2, which means it has a sidelight (for want of a better word). The lights should, therefore, have four positions - off, sidelight, headlight and high beam. Unfortunately, I don't think this is going to be an easy job - with the K2 switchgear, there doesn't seem to be any way to have the main beam and full beam on at the same time - it's one or the other. Guess that's why occasionally everything used to go dark when switching between the two.
14
« on: February 09, 2011, 10:14:48 PM »
Or more specifically, a silver variant of this kit on a bike engine? I'm torn between using the stuff above and not putting any paint on the 750 engine when I put it back together (and just coating it in ACF50 every now and again - works well on the 350 and 450). I basically stopped using paints when I couldn't find anything that was fuel resistant - every time I've used paints in the past and had any sort of fuel leak (no matter how minor), the paint has just lifted straight off leaving the engine looking awful. But watching the videos and looking at just how comprehensive these kits are, I'm wondering if this stuff will be more fuel resistant than anything else I've tried so far . . . Thanks.
15
« on: January 01, 2011, 01:33:51 PM »
With prices of bits moving ever upwards, I thought I'd repost this here under a title that can be found (it's taken from a much earlier thread with a heading that doesn't reflect the content). If you're going for an authentic 750 resto, you'll need to get hold of the various warning stickers that go on the frame. There are plenty of folks on eBay trying to flog them for silly money, but the following stickers are almost certainly available from Honda direct (and at a fraction of eBay prices): 1; Made in Japan - 87125-041-680 - headstock 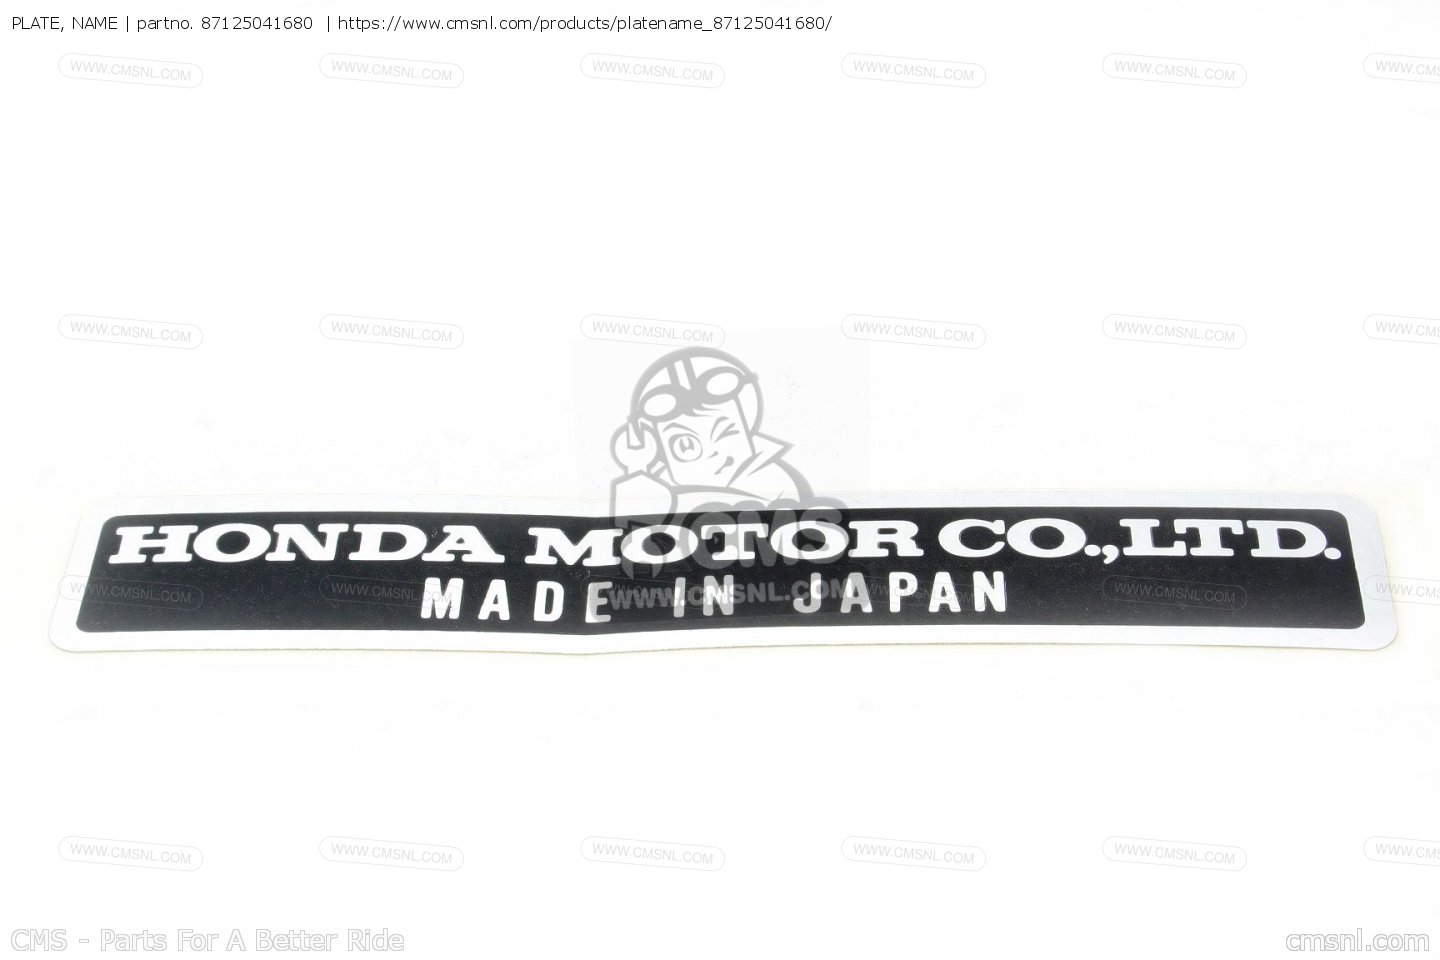 2; Engine oil - 87125-300-010 - oil tank cover 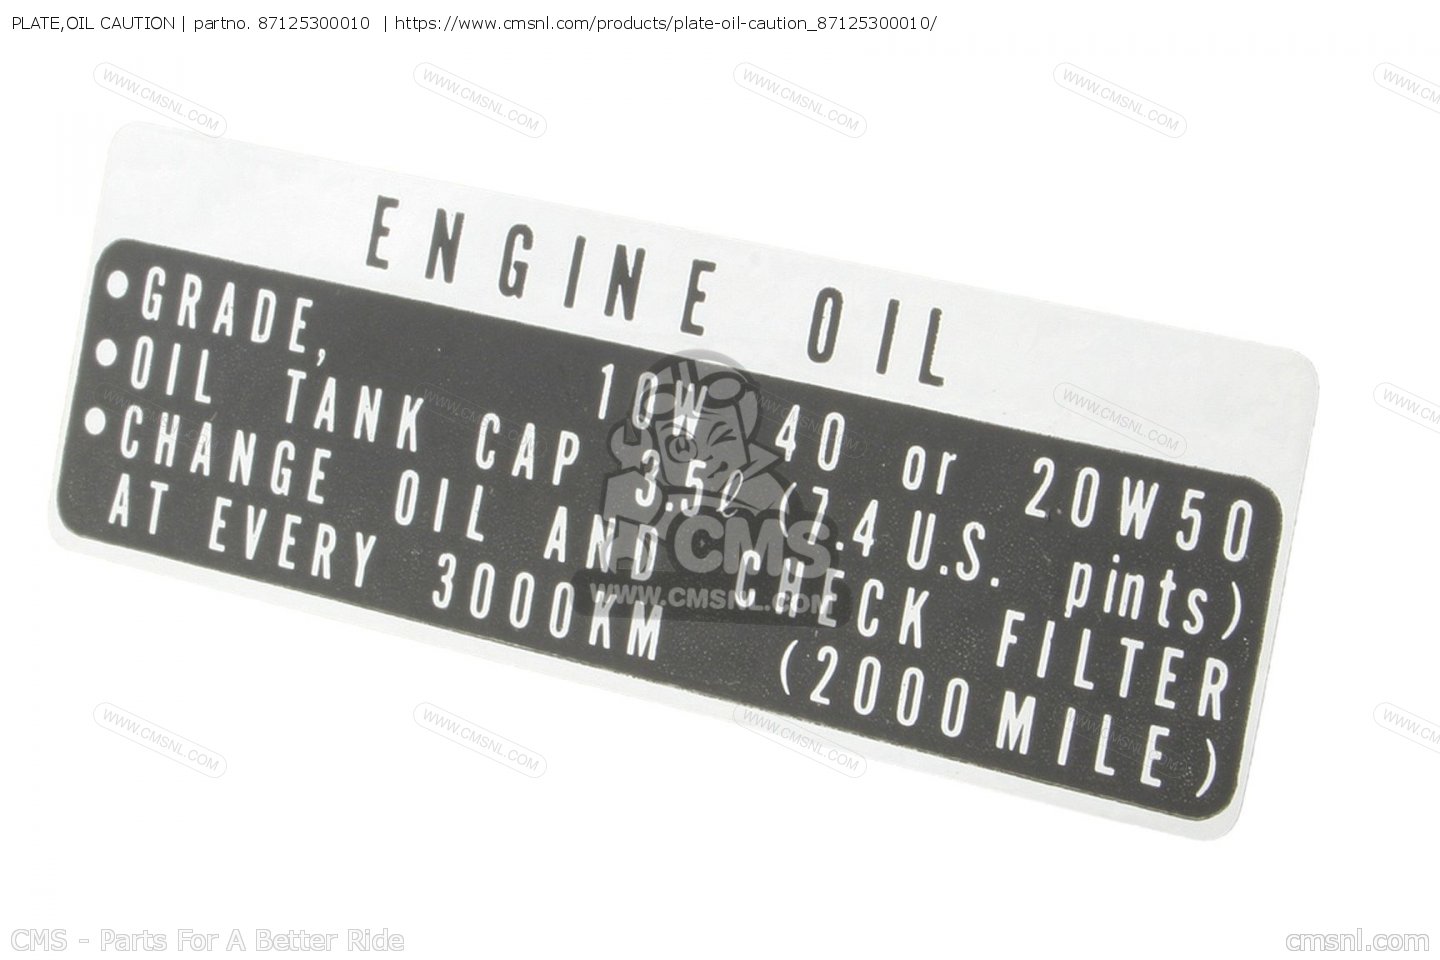 3; Exhaust Caution - 87504-028-670 - swing arm/chain guard 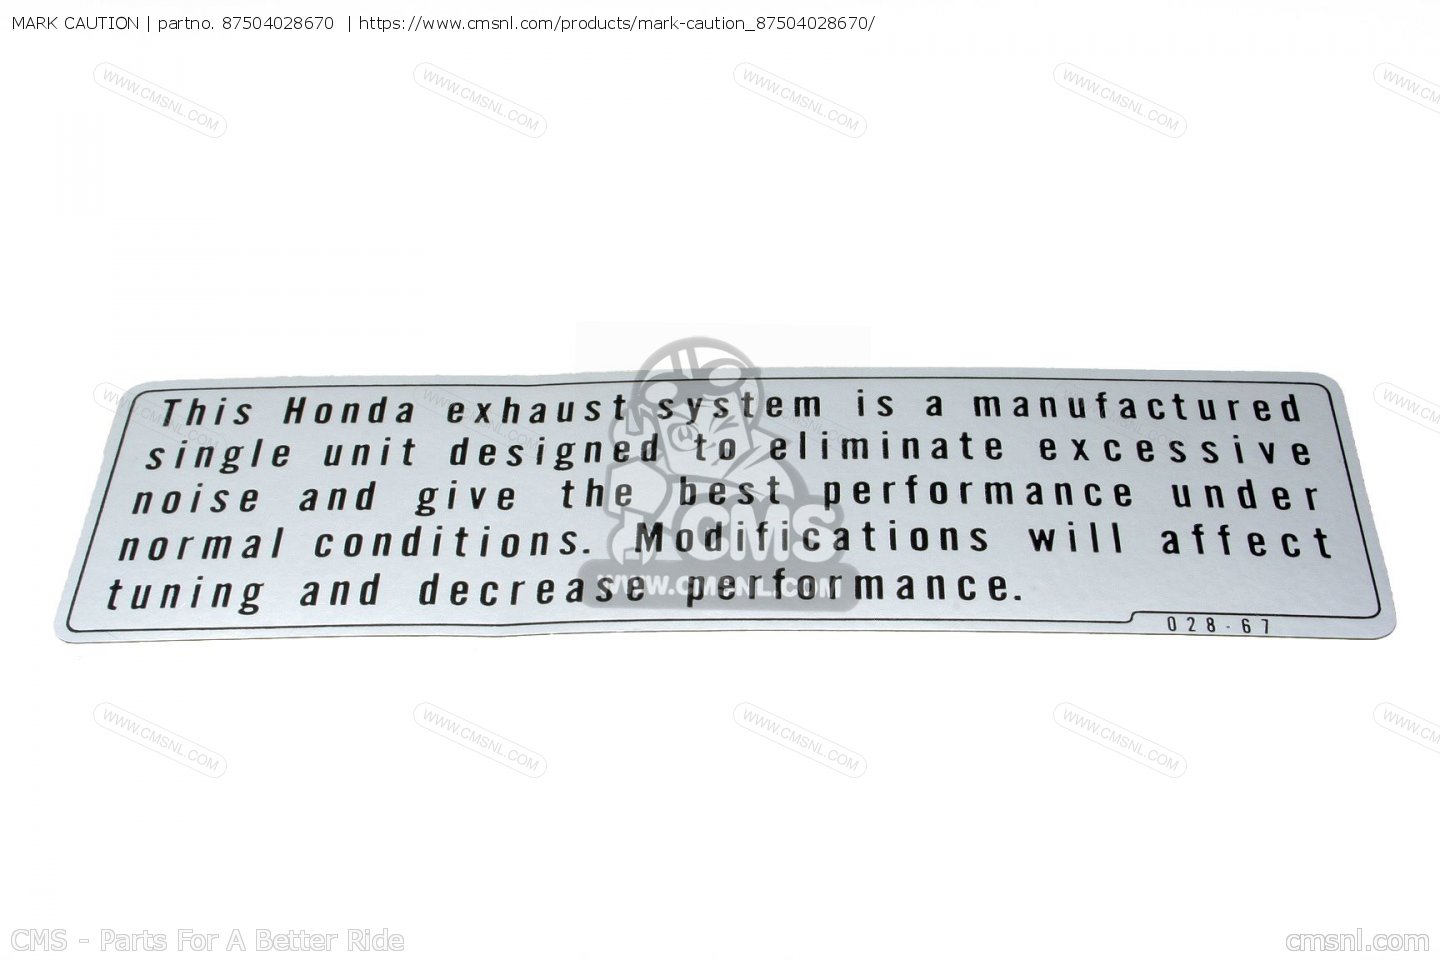 4; Helmet holder - 87511-323-670 - under seat 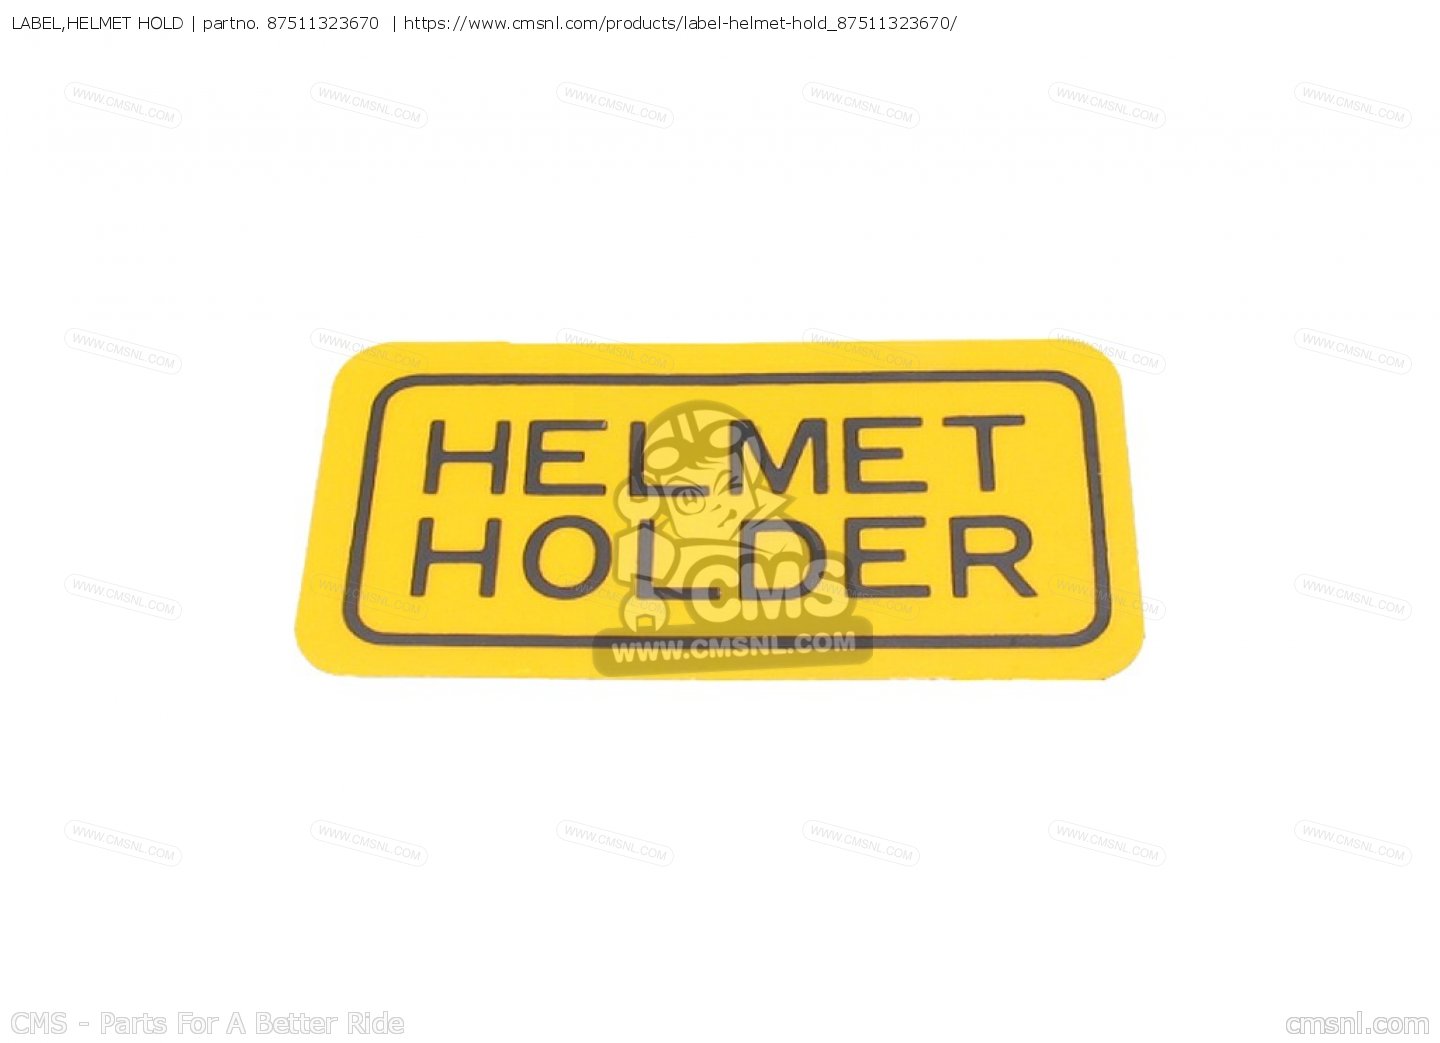 5; Preserve Nature (black text) - 87560-323-670ZA - tank above filler cap  6; Preserve Nature (white text) - 87560-323-670A - tank above filler cap  7; Preserve Nature (European later type) - 87560-375-680ZE - tank above filler cap 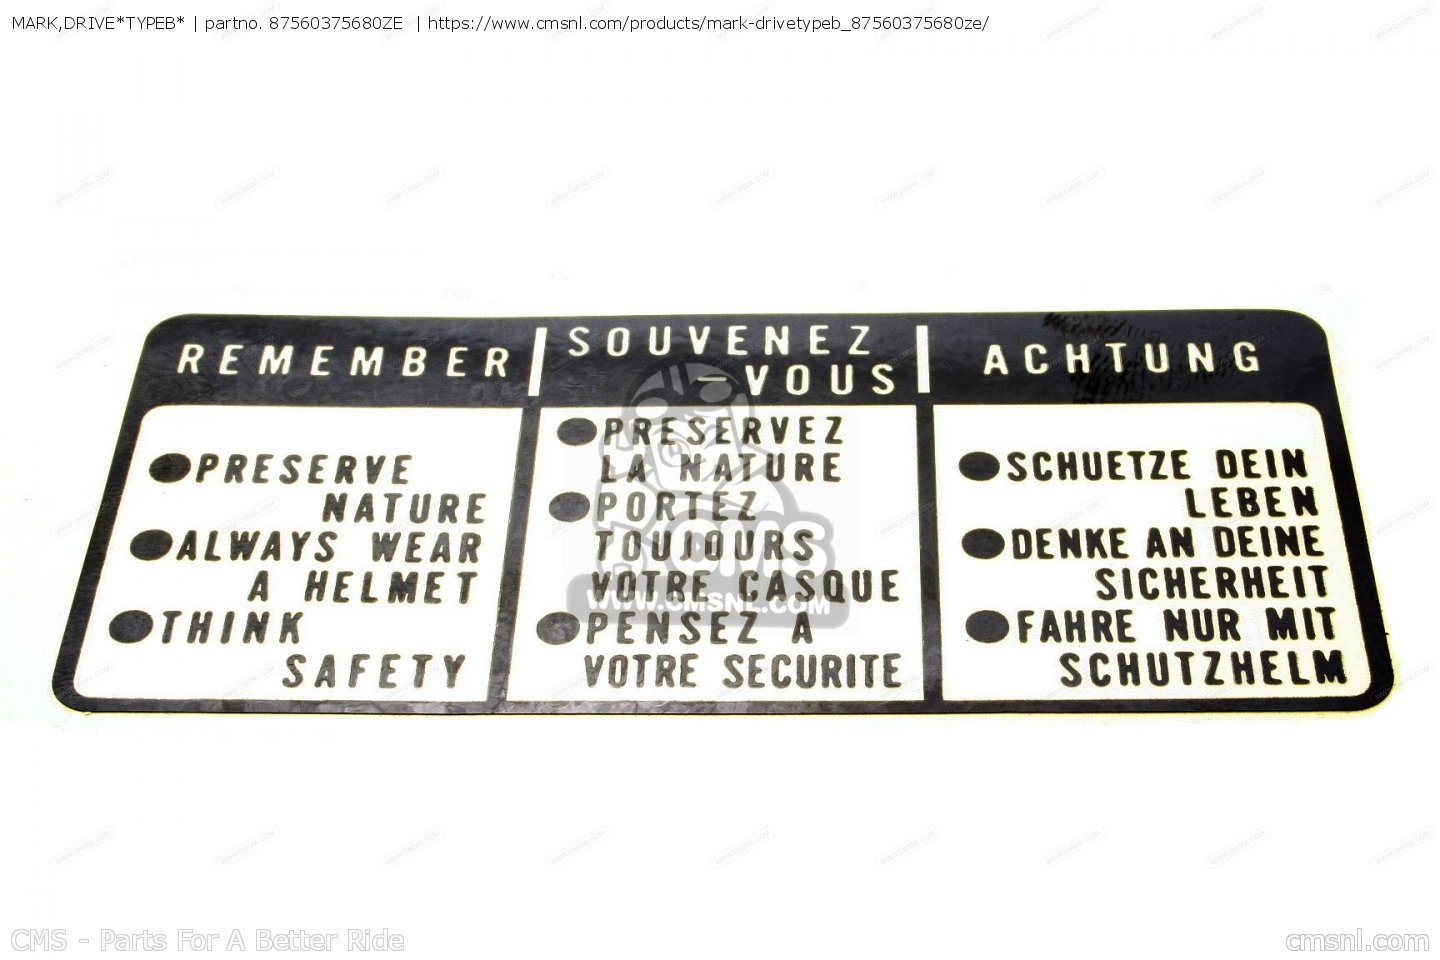 8; Tyre Caution - 87505-341-670 - rear fender (see picture below) Unobtainable direct from Honda (Note: although only one number is listed, the original sticker was in two pieces. Two types of repros are available - one is a large single sticker; the other is as the original two-piece) 9; Battery Caution - 87506-425-770 - plastic rear fender under seat (see picture below) Unobtainable direct from Honda CMSNL do their own kit - =http://www.cmsnl.com/products/0617d-300-030-cb750k_cb750setsticker/ - sorry, dunno what's in that one Silvers do a couple of different kits - the contents vary (depending on which bike - K0/K1/K2 etc - and which supplier they buy them in from) but the one for my K2 looked like this: 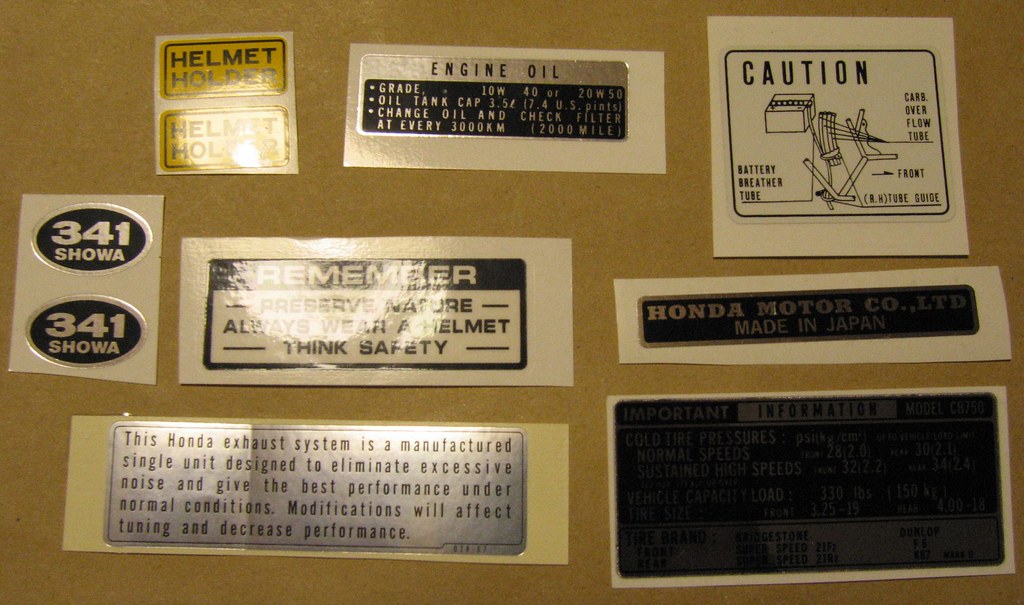 They also sent me a K0 or K1 kit by accident - which I sent back - and from what I can remember, it contained fewer stickers (although I can't remember which ones were left out) and had a different set of Showa shock stickers that were pendant-shaped. Weirdly, they charge more for that kit than the one for later models. Anyways, don't get stung, folks.
|