This section allows you to view all posts made by this member. Note that you can only see posts made in areas you currently have access to.
Messages - martin_uk
Pages: 1 ... 5 6 [7] 8 9 ... 28
91
« on: July 22, 2015, 07:27:04 PM »
Really sorry to hear the shocking news, he was always helpful and willing to assist.
92
« on: July 02, 2015, 05:20:39 PM »
I have done about 60 miles so far, but some issues. Small oil leak from head gasket area at front left, suspect the worst especially with 836 conversion, may have to invest in frame kit to save having to remove engine  Rev counter over reading, compared using electric drill and it was reading off clock, when others were reading 8k, but unfortunately they are the K type ie not green Suspect oil or grease contamination. Bike broke down, complete loss of electrics, luckily I could coast into convenient lay by  15amp fuse had gone black, used a 7amp to get home  Neutral light on all time, ordered new switch from DSS and also a 2.5mm O ring to try, as needed a switch for next project anyway. Anyone tried the weld less frame kits? Luckily I have other bikes to use.
93
« on: June 29, 2015, 10:46:21 AM »
94
« on: June 29, 2015, 10:33:25 AM »
+1, you have to ask yourself, why did it crack? Would you want to risk? It may be bent as well.
95
« on: June 29, 2015, 10:27:14 AM »
Here are some before shots. 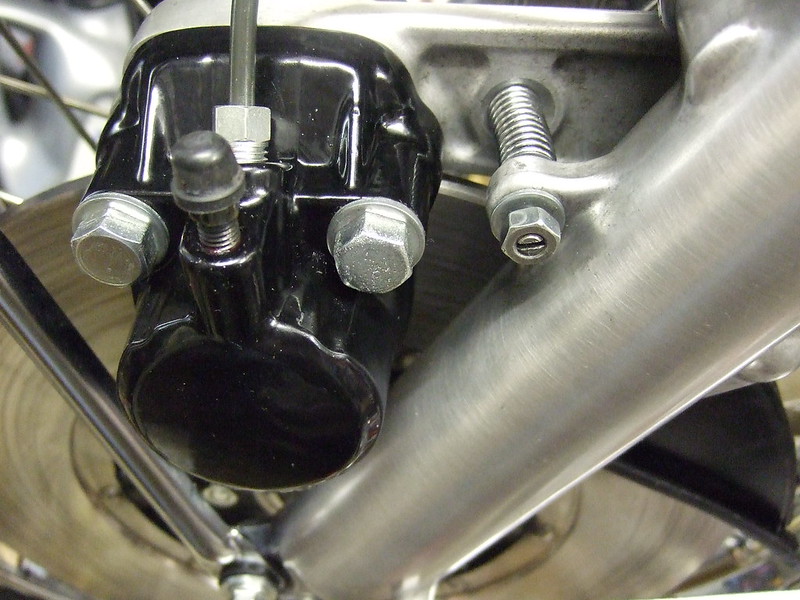 2014_0716brakes0004 2014_0716brakes0004 by nitram2010, on Flickr 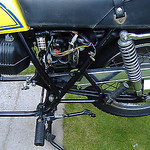 Ebay purchaseno2$_3 Ebay purchaseno2$_3 by nitram2010, on Flickr It doesnt look too bad, but on close examination the frame has rust and finish not great, so have stripped frame ready for blast and powder coat, along with other black parts.
96
« on: June 27, 2015, 11:26:10 AM »
The cafe project is not fully finished,but I am thinking about the next one  I bought this in May 2014 along with another F1 Lots of bits missing, plus I used the engine to rebuild and put in my first, stock F1. However, thanks to Pete on here I have a dismantled engine to rebuild for this one. Cost is a major consideration but I have bought quite a few of the parts, thanks Bryan for carbs but have just spent £500 at DSS and Cruisin image  I do like the cafe style and I am thinking of a more ally theme, but also like the idea of a Bugati Blue. Alloy rims would be nice. I was a bit ahead of myself with zinc plating, as I already had quite a few bits done for last project using bits from a spare engine and have bought various job lots of bits since which I need to go through. I am also wondering if this will be my last SOHC project, as I have run out of space
97
« on: June 22, 2015, 10:20:54 AM »
Thanks Guys for positive comments. Rear set position doesnt seem too bad, mind you only done 4 miles  Started losing power on way for MOT, in heavy rain, but made it there. All sorts of questions going through my mind as to possible cause. Seemed like fuel stavation, maybe, blockage? Took 45 mins for MOT, will it be OK?  ? Passed MOT  I only live about 2 miles from test station, fired up bike wondering if it will get me home. Started to pull away but not reving, shit! Felt like throttles not operating, sort of slipping, then realised the rubber grip was slipping on throttle tube Probably the rain was not helping. Gripped it a bit harder and fine, nice to find a simple solution. Never used grip cement before but looks like I need some!
98
« on: June 21, 2015, 07:30:50 PM »
Getting ready for MOT tomorrow. Decided to use a SS Motad 4 into 1 I already had and cone/pod air filters with 836cc conversion. 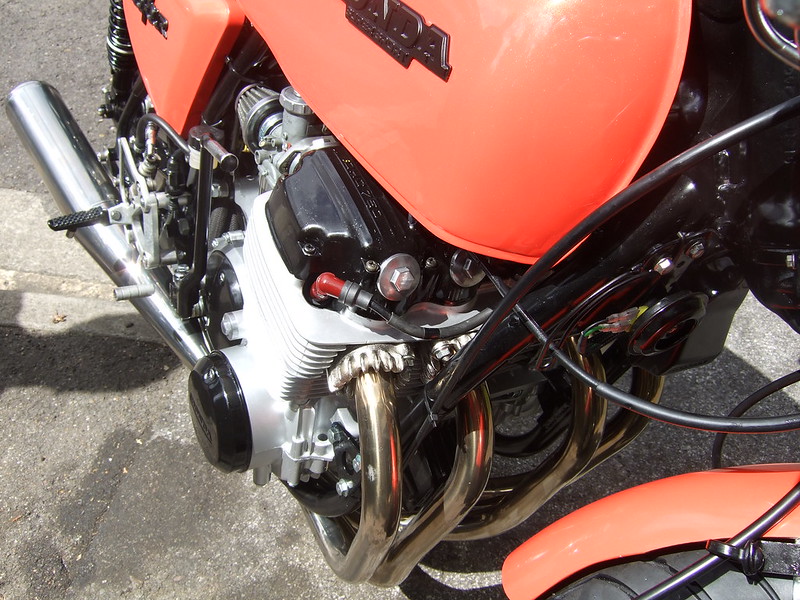 2015_0621after0011 2015_0621after0011 by nitram2010, on Flickr Standard cam, electronic ignition 64A carbs, 110 main and needle clip at bottom, mixture screw 1 turn out. 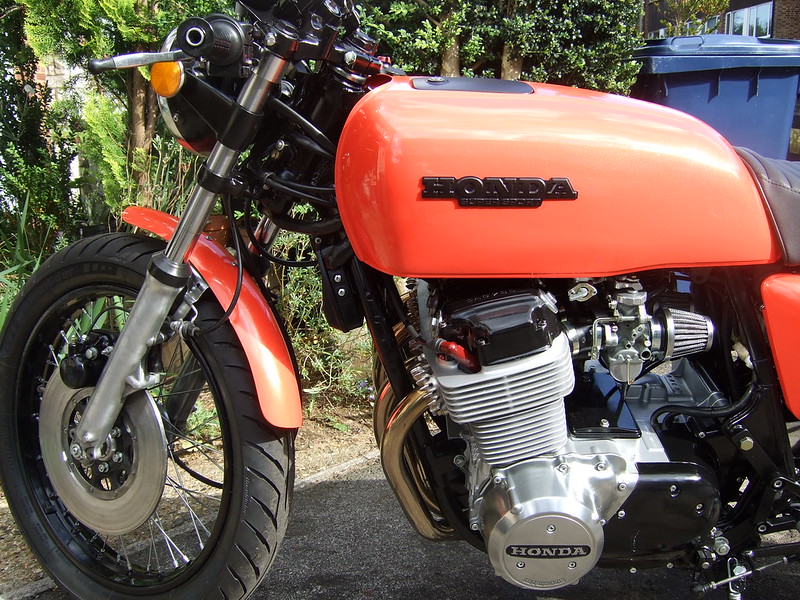 2015_0621after0012 2015_0621after0012 by nitram2010, on Flickr When DSS reduced price of generator covers I couldnt resist Runs OK statically, will see what its like on way to MOT  I already had a spare set of CBR600FK rear sets so decided to see if I could make them fit. Also bought some aftermarket foot pegs. Need to make a device to hold foot rest up for kick start use. 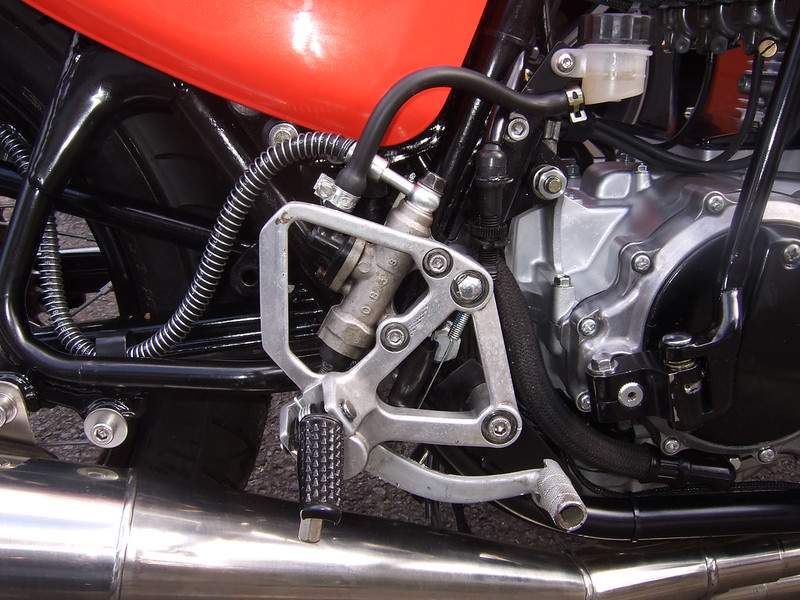 2015_0621after0020 2015_0621after0020 by nitram2010, on Flickr 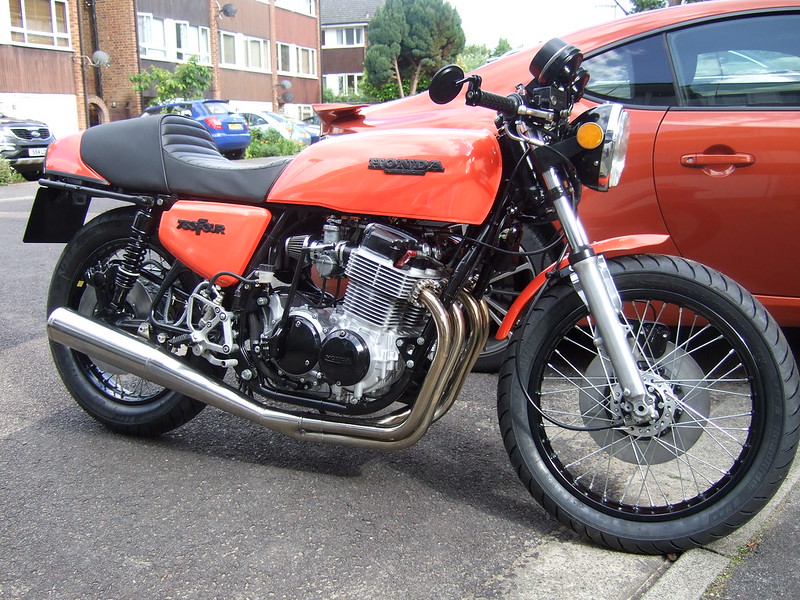 2015_0621after0016 2015_0621after0016 by nitram2010, on Flickr 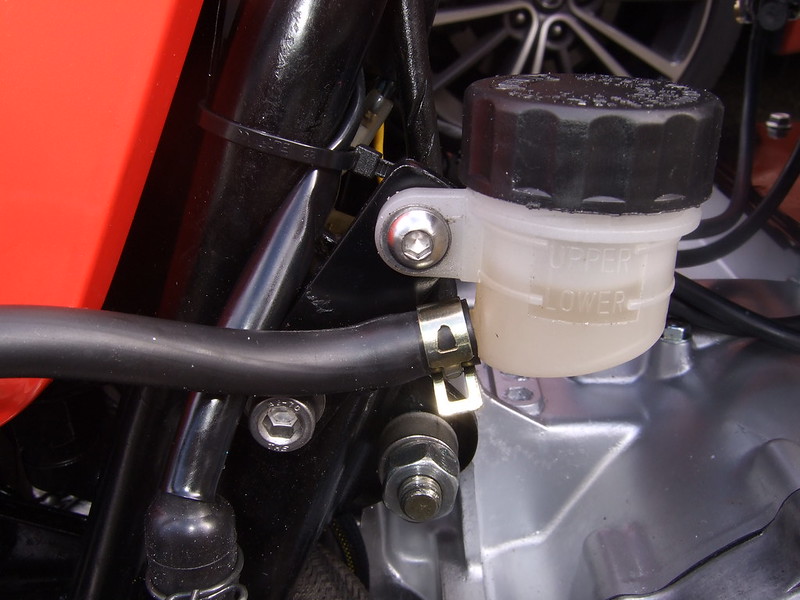 2015_0621after0022 2015_0621after0022 by nitram2010, on Flickr From the outset I had decided not to modify the frame and to adapt whatever was fitted. The rear sets came out OK, not pretty as I use angled ally and various spacers.  2015_0621after0023 2015_0621after0023 by nitram2010, on Flickr 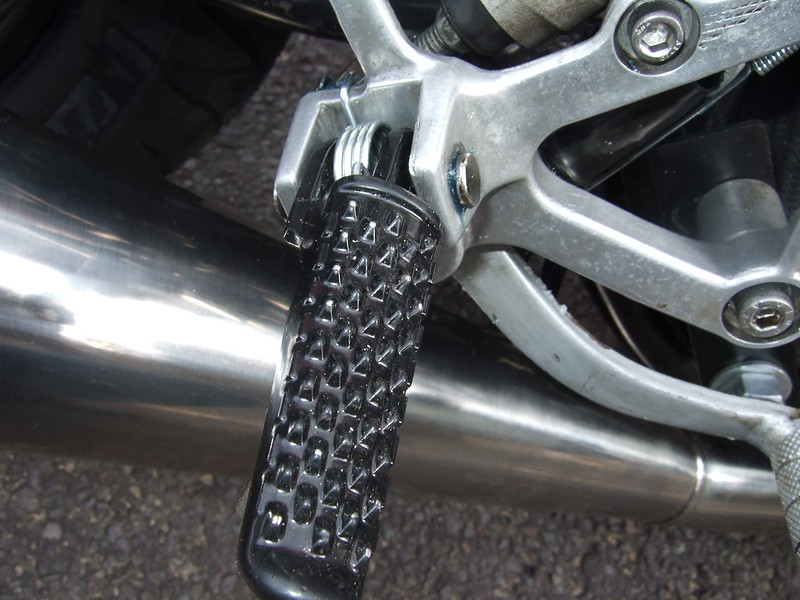 2015_0621after0024 2015_0621after0024 by nitram2010, on Flickr Seem quite solid, thought I was approximate and then try out before final decision on position. Rear brake hose was a bit of a compromise as had MOT booked for Monday and had to use what I had. Thought I would paint the worst bits as cam cover was deeply pitted. 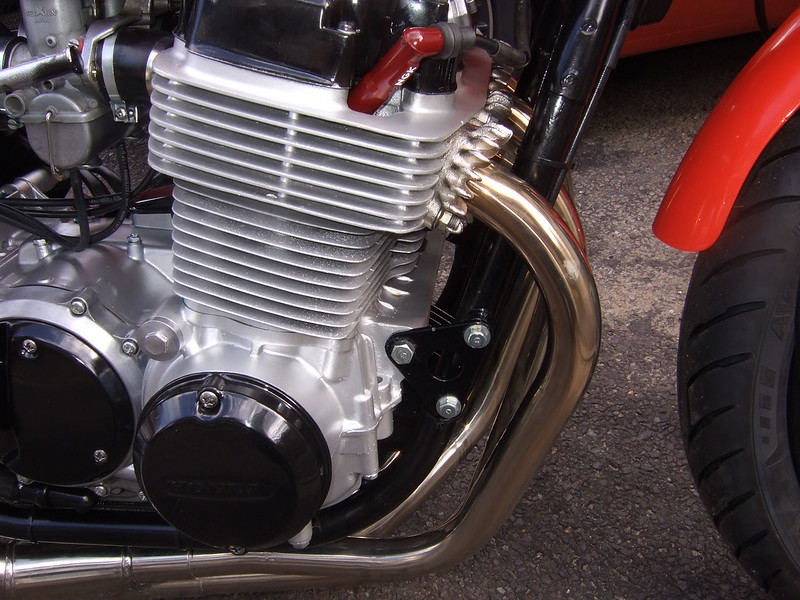 2015_0621after0027 2015_0621after0027 by nitram2010, on Flickr Cable routing 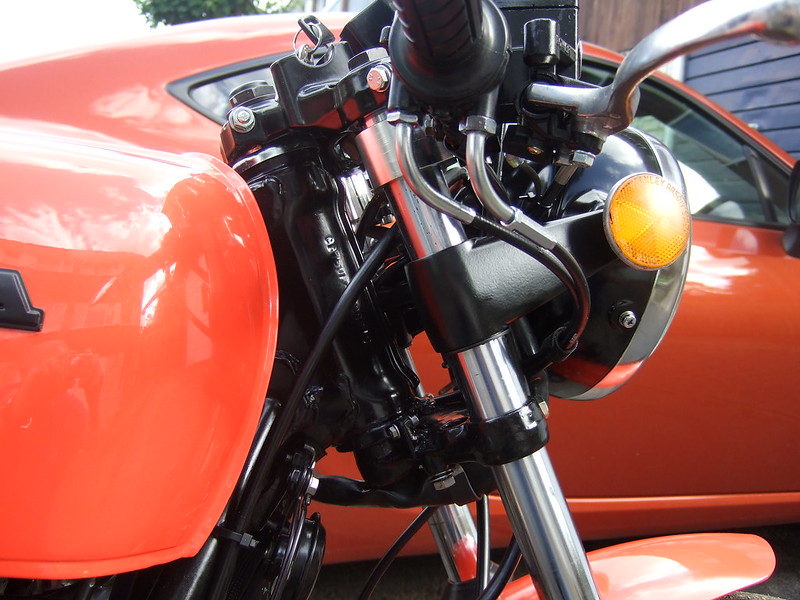 2015_0621after0029 2015_0621after0029 by nitram2010, on Flickr Standard front brake master cylinder would not fit so used an after market one. 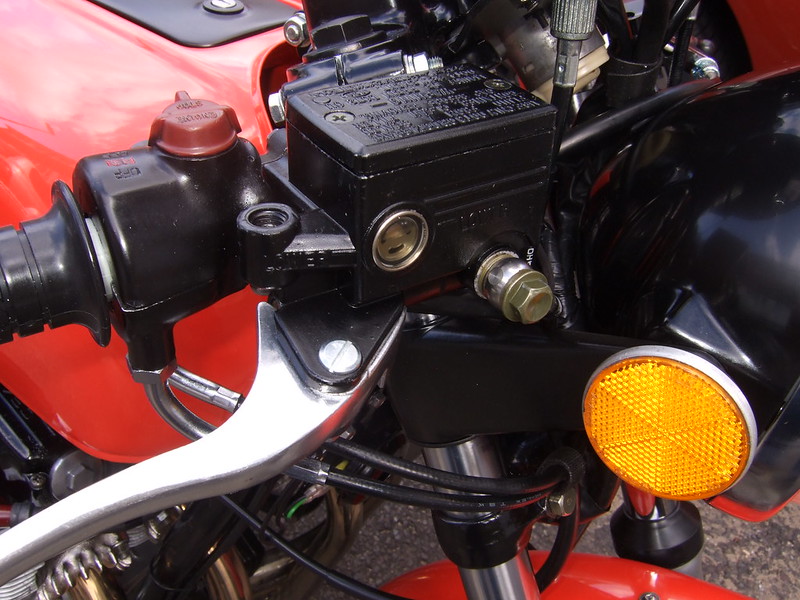 2015_0621after0030 2015_0621after0030 by nitram2010, on Flickr Engine mounting repair looks OK. 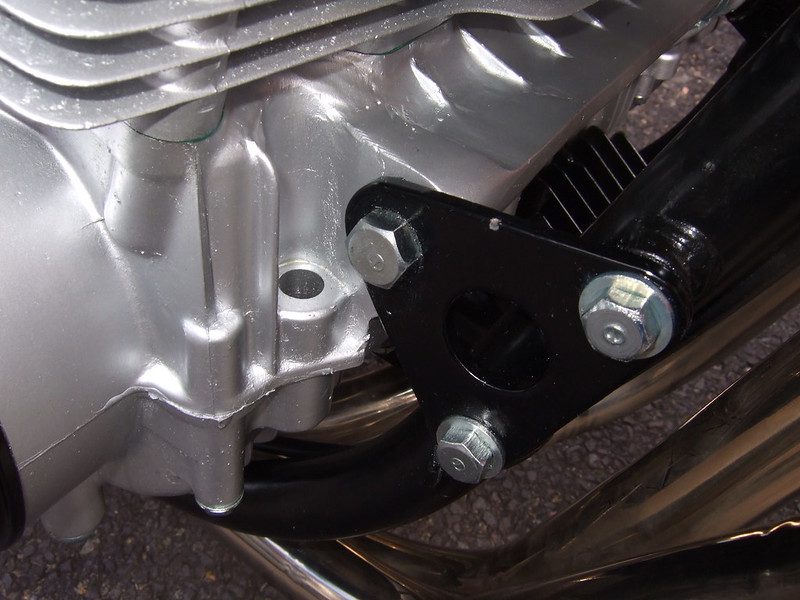 2015_0621after0033 2015_0621after0033 by nitram2010, on Flickr Used F2 tank badges painted satin black, yet to decide whether to pin stripe tank and side panels. 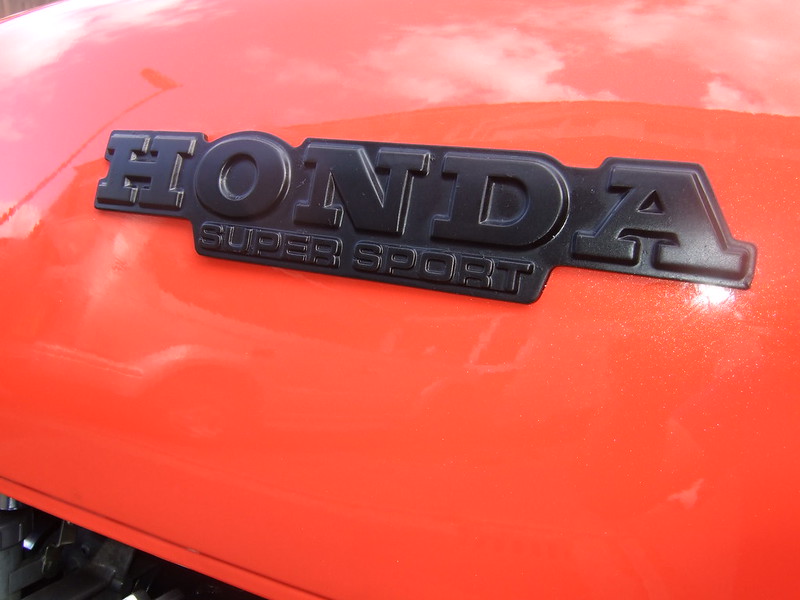 2015_0621after0034 2015_0621after0034 by nitram2010, on Flickr Replica side panel badges satin black.  2015_0621after0035 2015_0621after0035 by nitram2010, on Flickr 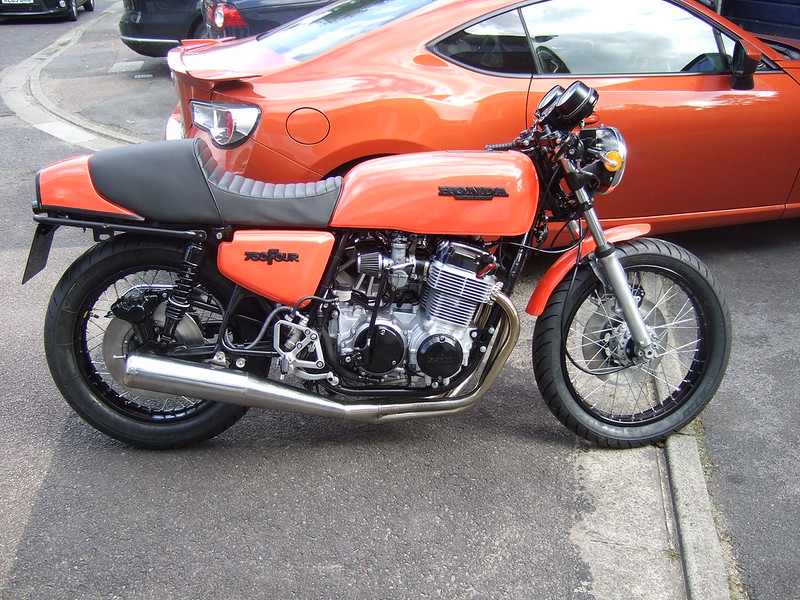 2015_0621after0037 2015_0621after0037 by nitram2010, on Flickr The images dont show colour that well as looks better than some of pics. Generally quite pleased to have recovered the badly seized and broken engine I started with
99
« on: June 11, 2015, 04:52:49 PM »
The first thing is to strip pump and assess wear/damage. Take care when holding pump ie dont damage by clamping hard in vice and you usually need impact driver on screws. A hot air gun is useful on the screws housing to heat and aid screw removal. I have found a common problem is damage to the rotor tips. Large seals in rotor housing/body are not available from Honda, but there is someone selling aftermarkets ones, http://www.ebay.co.uk/itm/Honda-cb750-sohc-oil-pump-oil-seal-repair-kit-/151706206379?pt=LH_DefaultDomain_3&hash=item23526500abSeal on rotor shaft is tricky to replace. Stopper seal can be an issue. Once dismantled you can see whether the rubbers parts are rock hard or still compliant. Filter gauze on pick up is available from Honda/DSS and worth replacing if damaged on removal or rubber hardened. Ideally replace rubber parts, but easier said than done
100
« on: June 07, 2015, 04:25:53 PM »
I was pretty p........d off that the front mudguard I had painted was wrong size. Thats the problem with assuming I do love the colour and did not want to start from scratch. The mudguard had built in side sections designed to be clamped to fork sliders with large Jubilee type clips. 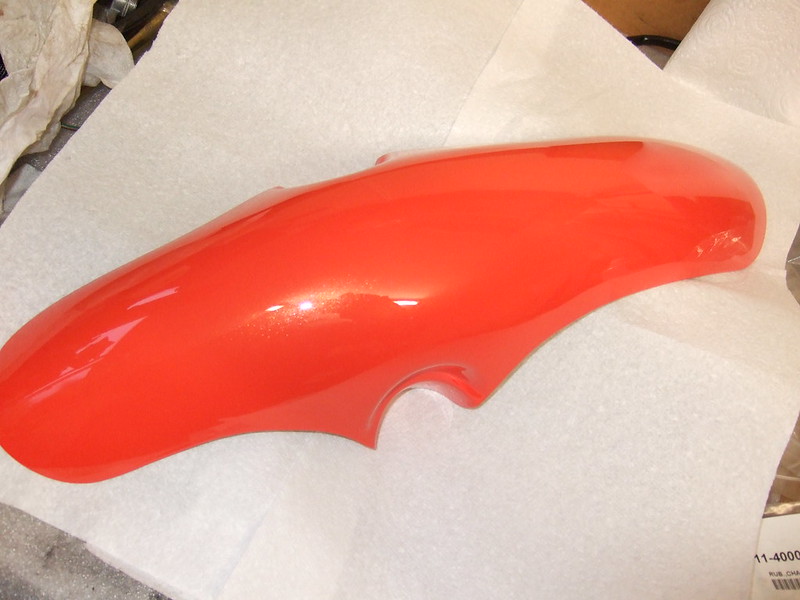 2015_0210frame0030 2015_0210frame0030 by nitram2010, on Flickr As I bought a new genuine mudguard for K8, thought I might be able to use the old bridge in conjunction with modified fibre glass guard. This would also provide brake pipe support. Trial cut the new fibre guard with junior hack saw, cut ok but difficult to control. I wanted something that would not damage the new paint too much. Used masking tape to mark out and tried a trial cut with minin diamond coated disk in Dremel type tool. This worked well, but creates loads of dust. Cutting a curved line is not easy and not perfect, but happy to compromise. A slall amount of paint flaked, but hopefully will touch in ok. Could not use existing rivet holes in bridge but drilled 2 new fixings and needed spacers between bridge and guard. 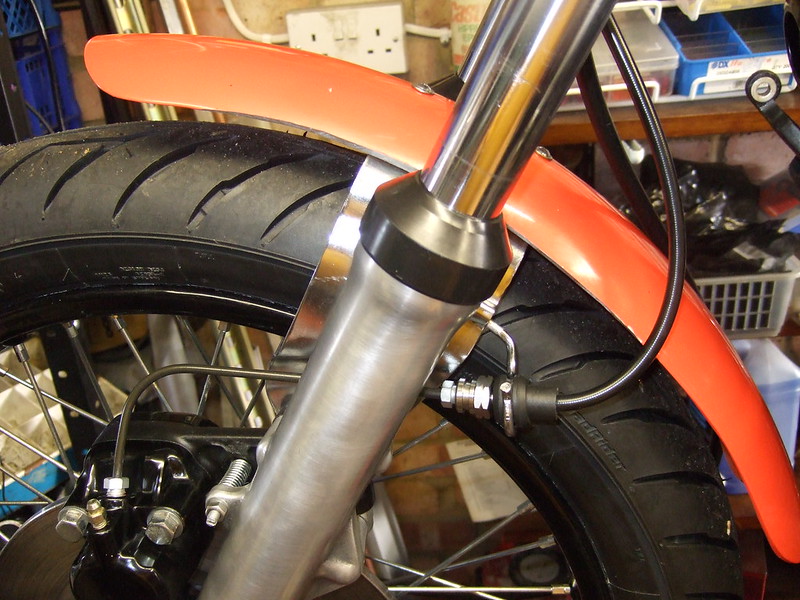 2015_0607after0001 2015_0607after0001 by nitram2010, on Flickr Decided to use standard lower brake pipe with made to order steel braided, with black cover, brake line. A piece of rubber tube was slit and used with standard hose rubber mounting.
101
« on: June 05, 2015, 08:50:54 AM »
Thanks Martin, I actually went through redrilling up by 50micron the pilot and the main jets due to big bore. In addition, I have reset the air screw to 2.0.
I am checking the spark plugs and response (still have a slight gap so probably still too rich).
Actually, I also went through buying a infra-red thermometer. Did anyone tried that?
The idea is to measure the heat at the exhaust connection with the engine. I have set the air screws to get 180C but not sure if that is the right temp. I can see that it definitely reach the 220 which I am trying to avoid. I have actually noticed that despite having all the air screws at 2.0, one exhaust was running at 220C!
I think the OEM book provides temp indication for the oil but not so much for the engine. In all case the temp measure is very quick and repeatable without having to open up the spark plugs which can on the long term also damage the alu threads. Any idea what should be the combution temp?
Cheers,
Marc
Depending on the carb, the air screw/mixture screw may weaken mixture as you unscrew as it controls air not fuel. The PD carb fitted to late SOHC 750's is the opposite Weak mixture causes high exhaust temperature. Without cooling fans you are limited how long you can run statically before overheating occurs. An infra red thermometer is good for giving rough idea, but engine revs increase is the best indicator for adjusting at idle, with maybe a slight richening to help transition from idle/slow circuit on take off.
102
« on: June 04, 2015, 07:02:22 PM »
You may find air box openings are different, I will have a look at mine.
103
« on: June 04, 2015, 07:00:14 PM »
I will be going through the delights of finding best set up on my 836 soon.
Carburation is a complex issue and acheiving best set up will vary depending on preferred use.
The main reason electronic fuel injection is so good, is the ability to vary fuel delivery to achieve the best fuel ratio, using an oxygen sensor in exhaust to provide a constantly changing mix to suit the varying throttle openings.
If you are using pods or open intakes, mixture will weaken and will need to be richened.
Worst case is a very weak mixture that causes piston overheating and can burn a hole in it, so better to err on richer side, especially at high sustained revs !
104
« on: June 04, 2015, 06:28:02 PM »
The rubber connectors/velocity stacks to air cleaner on my K8 are marked 405 and are bigger, so you will need the smaller ones if your carbs are 40mm at intake.
I have a flat spot at around 4k rpm on my PD carbs on K8, but will get a few more miles on it before messing with jetting.
105
« on: June 04, 2015, 05:45:47 PM »
Just measured my 392 F1 head.
Inlet spigots are 36mm at lip and reduce to 34 after lip.
Inside is 28.5 and outer depth to head is 18mm
F carbs are 37 engine side and 40mm air cleaner side.
F rubber is 33mm head side (old one) and 36 carb side.
K8/PD carb rubber is 34 head side and 38mm carb side.
Hope this helps.
Pages: 1 ... 5 6 [7] 8 9 ... 28
|

