I originally posted this on the yamaha website, but I thought I'd share here also.
Its not bike specific and it may help someone.
A few weeks ago I was riding home in the dark when a car pulled alongside and the driver shouted various obscenities about me riding without lights on,.....what he meant was my tail-light was not working....the headlight, brake light, indicators was all working fine!
Nonetheless, I was unaware!
I'm sure it was on when I left but it wasn't on now!
Without a spare bulb or screwdriver to remove the lens, I nursed it home using the brake light to show cars where i was, and rode home taking my hand off the brake when there was nothing behind me. The journey took a little longer but there wasn't that many cars about at 11pm.
Afterwards, I set about solving the problem. In the first instance, I've now got a bicycle light connected to the back rack. so if the rear light goes off again i've got a 'get me home' solution.
The other aspect was how do you know when your lights are not working?
Seeing the light bulb working when you pull away is fine but if it fails how do you know?
I tried changing the angle of a mirror, but its fiddly and its difficult to see the actual back of the bike, equally head over your shoulder........well you can't keep doing it every minute!
I wanted something at the front to tell me if the bulb was working!
Heres how i did it.....
By chance I saw the red light glowing on the back of my DVD player at home!
It was the optical output! I then found the short optical cable that went with it and went down the shed!
sure enough held against the lens the other end glowed red, not brightly but it worked.
With the principle working, I purchased a 2m Fibre optic toslink cable for a couple of quid off ebay and fitted it to the bike.
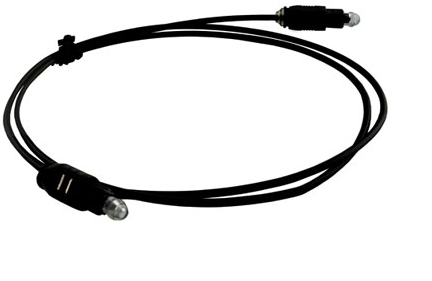
There is no need to do anything to the cable, no metal parts to rust and it works underwater!
To improve the performance it works better aimed at the bulb. So I drilled the reflector and fixed it in postion.
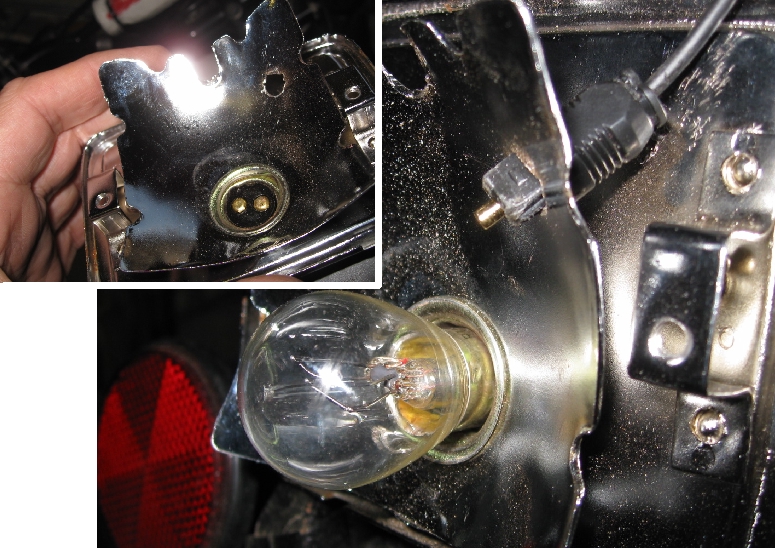
I could have drilled the lens and plugged it in too, but inside looked better
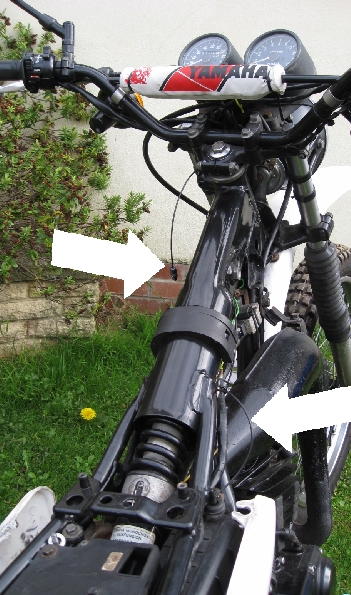
A quick bit of threading from back to front I ended up at the dashboard with little to spare.
a cable tie later and its very discrete.

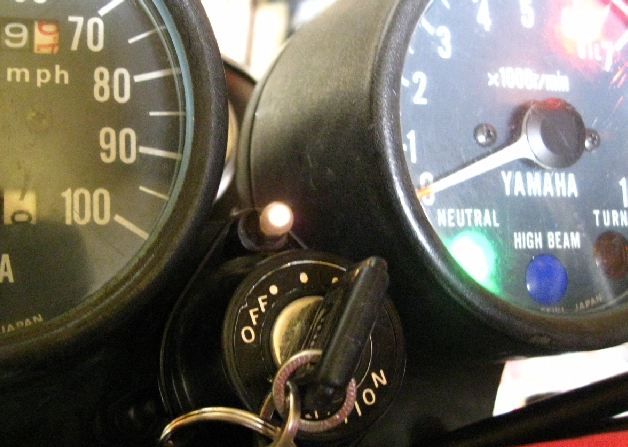
I also found leaving the clear rubber protective cap on spreads the light better.
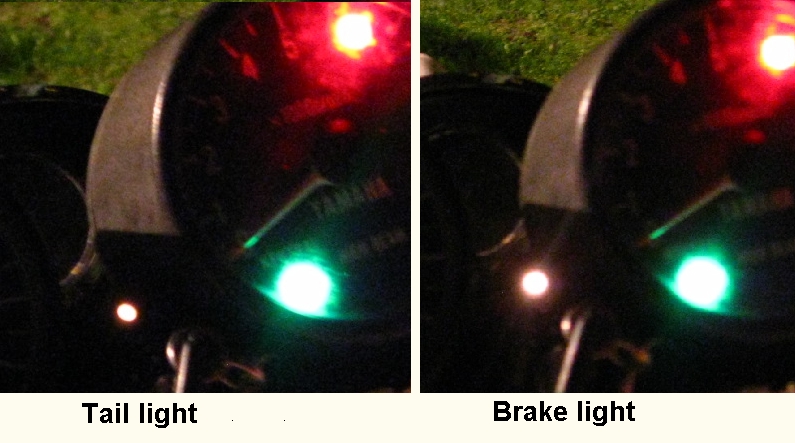
Its very discrete and gives you that reassurance that the bulbs are working at the back, all visible from the riding position and even better, uses NO electricity!
The bonus is it glows even brighter when the brake is applied, checking the state of both filaments.
One solution for two bulbs......anagram of one is NEO...........I've called it a NEO-light.
.


